crafts & knitting · free patterns

wristwarmers


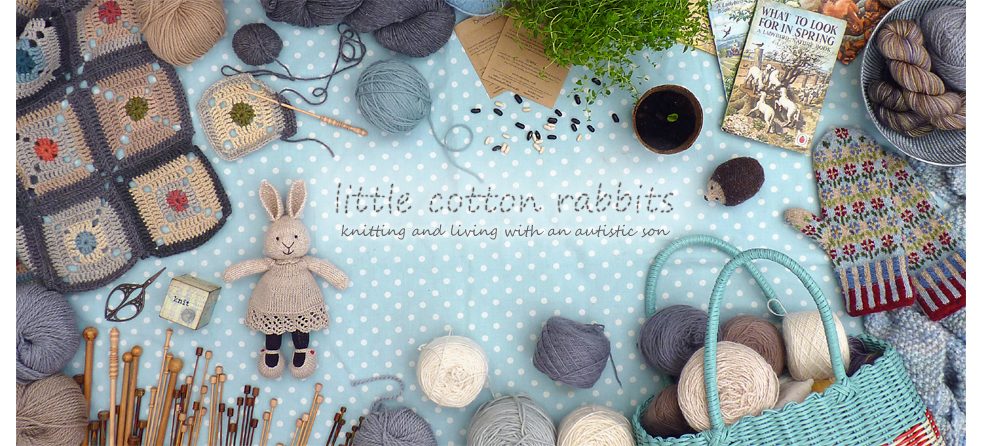
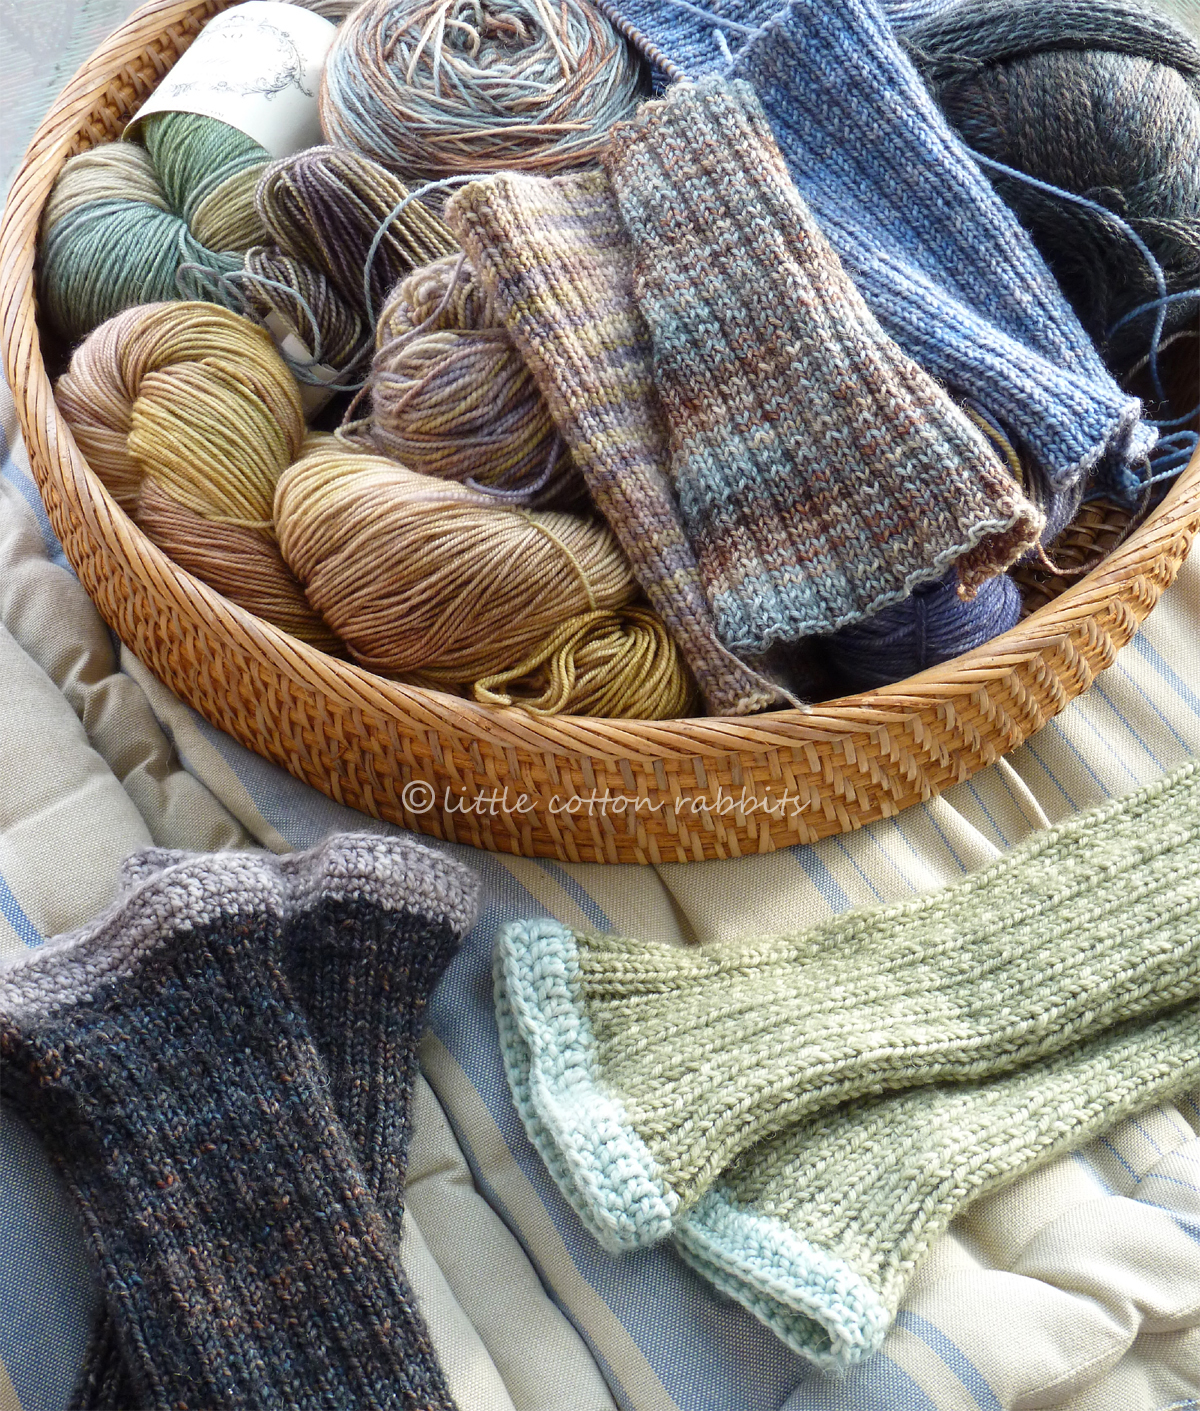
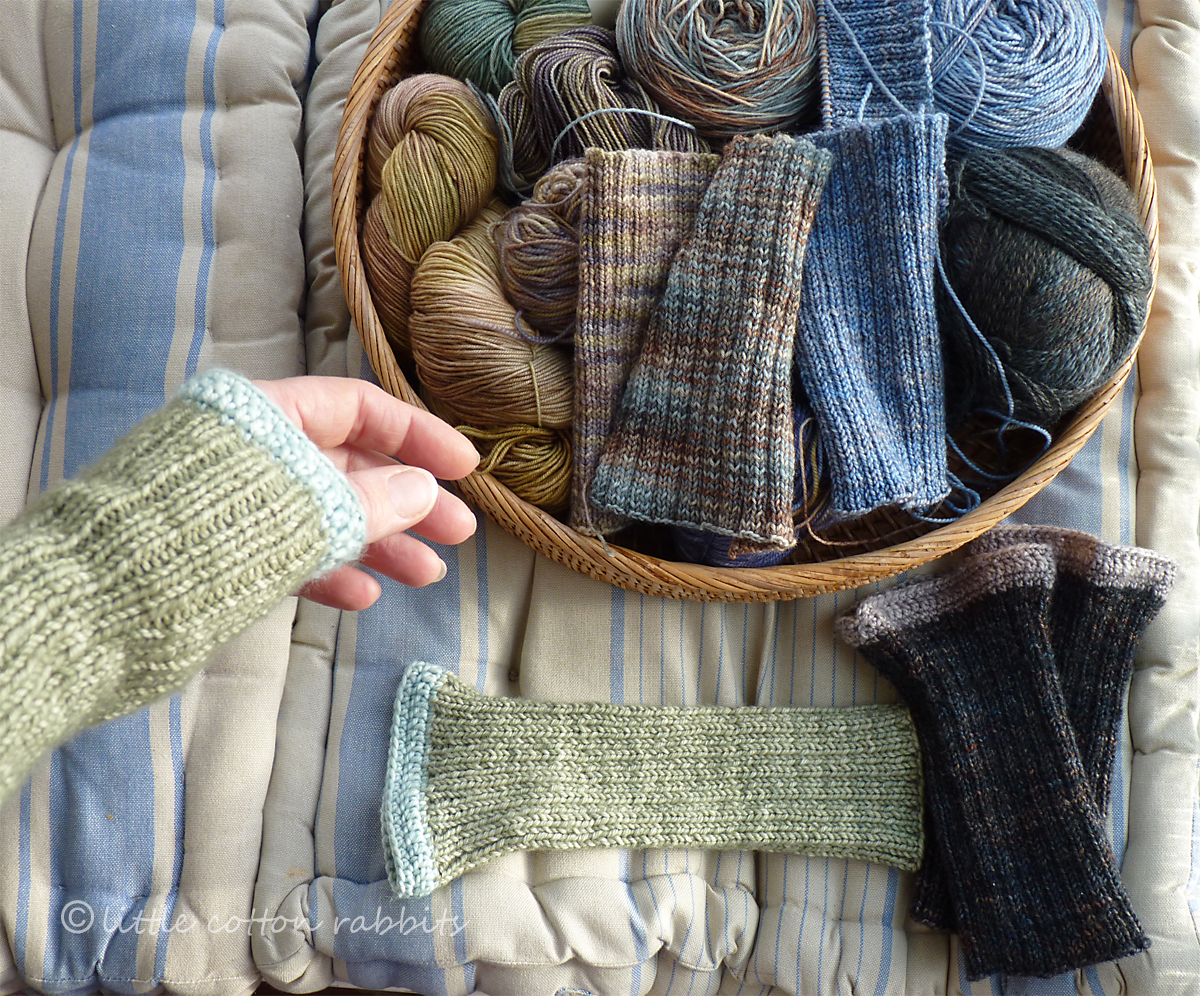
So, like I said I have had a bit of an obsession with sock yarn lately and have amassed quite a stash. It was relief to see lots of comments on the previous post from fellow yarn stashers – thanks for all the tips on concealing yarn and justifying stash size to unappreciative partners! Thanks too for all the kind remarks about the misty blanket.

Anyway, I thought I ought to start using some of my sock yarn stash and I felt like making something simple and undemanding – a bit of vanilla knitting as Annie @ Knitsofacto calls it.

I like that I can knit row upon row of these without glancing down, just kind of feeling the rhythm of knit two, purl one, knit two … perfect knitting activity for the end of the day when I need something undemanding and kind to my fumbly, tired fingers. And using hand-painted sock yarn makes these interesting, because you never can tell by looking at the skein quite how it will look when knitted up.

I am making several pairs of these as Christmas gifts and some for myself because I like warm hands in winter. I make them as straightforward tubes but because they are knitted flat and seamed at the end it is easy to leave a gap for your thumb if you prefer them that way.

If you want to make a pair, here’s how:

Wristwarmer Recipe:

Using 2.75mm needles and a nice hand-painted sock yarn, cast on 53 stitchesย 

(I used a cable cast on because it stretches well)

(if you want to knit them in the round only cast on 51 stitches, don’t work the last 2 stitches from each row and just repeat row 1 for each round)

Row 1: (K2, P1) 17 times, K2

Row 2: (P2, K1) 17 times, P2

repeat these two rows until you have the length you require (I settled on just over 6 inches / 16cms)

then cast off loosely in pattern (I went up to 3mm needles for the cast off row).

Close the seam using mattress stitch by alternating between picking up the bar between the first and second stitch and then the one between the last two stitches (there’s aย mattress stitch tutorial here). Like I said you can leave a gap for your thumb in the seam if you prefer.

After seaming add a crochet border to the top:

Using a contrasting yarn and 2.75mm hook, slip stitch into the top of the seam

Round 1: chain 2, then single crochet into each of the cast off stitches until you are back to your start point, slip stitch into the 2nd chain stitch to finish that round

Round 2: chain 3, then double crochet into each of the stitches from the row below, until you are back to your start point, slip stitch into the 3rd chain stitch to finish that round

Round 3: chain 2, then single crochet into each of the stitches from the row below,
until you are back to your start point, slip stitch into the 2nd chain
stitch to finish that round. Cut work from the yarn and sew in ends along the side seam.

Wear or give.

I also madeย  a pair in worsted yarn (the green ones with the light blue trim) and these were knitted on 3.25mm needles and I cast on 44 stitches. I also made them longer (around 8 inches) to go under three-quarter sleeved jumpers.

Knitting things to keep you warm sounds like a good thing to be doing right now – it’s due to get frosty by the end of the week and the long range weather forecast sounds rather grim with some forecasters saying we’re in for the worst winter in a hundred years. That sounds very ominous and I do hope they’ve got it wrong – keep warm where you are x


crafts & knitting · free patterns · general stuff

mr Ro-bot


Thanks so much for the lovely welcome back. Things here are settling nicely back into a manageable routine and although Toby isn’t yet calm and content he’s definitely changed his mood for the better.

I’ve really enjoyed picking up the needles again and have finished off Mr Ro-bot who has been delivered to the reception class teacher at school in time to meet this year’s new children. I love the thought that he’ll be a friendly helper in their learning.

At the moment I’m not going to write up a full pattern for him but I’ll run you through how I made him. I used 5 different shades of Rico Creative Cotton and 3.5mm needles and I do have some of each shade left over so 5 balls is plenty. I used 2 decorator / car wash sponges which were approx 13 x 20cms and 5cms deep. I chopped one sponge in half and used 1 half for the head while the other half I cut in half again to make 2 feet. I trimmed the second sponge for his body. I have this sketch which shows how I constructed the blocks (these measurements were for the feet and the head and body were larger).

For the legs I cast on 28 stitches and worked 20 rows alternating between 4 rows of 2 separate colours. I sewed the back seam up to make a tube and then sewed this to the top of the foot before stuffing it firmly and then sewing it to the finished body. The arms were just my knitted christmas stocking pattern with more rows at the end to form the hand. I ran a length of thread through the back of the knitting at the wrist to gather it in and tied it off after stuffing the hand before finishing sewing up and stuffing the arm. The fingers were i-cords of 3 stitches and 8 rows.

The โ€˜earsโ€™ are knitted in the round – starting off with 20 stitches and over several rows decreasing until 8 remained then gathering the remainder to make a sort of bobble and stuffing them before sewing them to the sides of the head. I did the same with the antennae but carried on until 3 stitches remained and then did a short i-cord. I didn’t stuff the bobble but squashed it flat and sewed it in place. The eyes are knitted bobbles in white 4 ply yarn and the smile is a 6 cm i-cord in 4ply yarn and 2.5mm needles sewn on.

If you wanted to make a similar robot of your own I’d start by cutting your cubes of sponge up first. Then cast on as many stitches as you think you’ll need and match your knitting to fit – that’s what I did but I didn’t keep decent notes. I do remember that I put a reverse stocking stitch to mark the corners as this gives the knitted fabric a natural right angle bend.

If I get the chance to make another one in future I’ll keep better notes and try to write up a proper pattern to share.

crafts & knitting · free patterns

winter woollies

Phew! After the illnesses of the last few weeks all has returned to normal here at our house and so I’m enjoying some quiet knitting time in the autumn sun. As usual at this time of year my thoughts have turned to Christmas and I’m busy working on a seasonal batch of toys with nordic jumpers like last year. I have set myself the difficult task of keeping them all different both from each other and from the ones I’ve made before so I’m having fun playing around with combinations of various nordic designs and cables.

I’ve also been wearing my new wrist-warmers on the walk to school each morning – it’s getting a bit nippy first thing!


They’re so easy to make as there’s no shaping at all and they’re comfy and warm to wear – a bit like having very long sleeves that you can pull down to your knuckles. Here’s a quick pattern:

The Baby Cashmerino yarn that I used is 125m long and this was just enough (with around 2m spare) for the 2 wrist-warmers so use any DK yarn but check the yardage.

Using 3mm / 11UKย  / 2-3US needles and any DK weight yarn cast on 54 stitches.

work 10 rows of K2, P2 ribbing (i.e K2, P2 on right side, P2, K2 on reverse)
Row 11: start the double moss stitch pattern – K2, P1, K1 to end
Row 12: P1, K1 to last 2 stitches, P2
Row 13: K1, P1 to last 2 stitches, K2
Row 14: P2, K1, P1 to end

repeat these 4 rows 11 more times (giving a total of 48 rows of double moss pattern)
next row: K2, P2 to last 2 stitches K2
continue in ribbing for another 8 rows and then cast off.

Sew up the side seam with mattress stitch (which is virtually invisible) and pop them on!

Happy knitting and happy weekend!