
Thanks so much for all the kind comments, emails and suggestions for helping Toby get through the rest of the winter. I am hopeful that things will improve once the warmer weather and longer days of spring arrive and seeing as the first blossoms have opened on our old plum tree in the last few days this now feels a little closer!
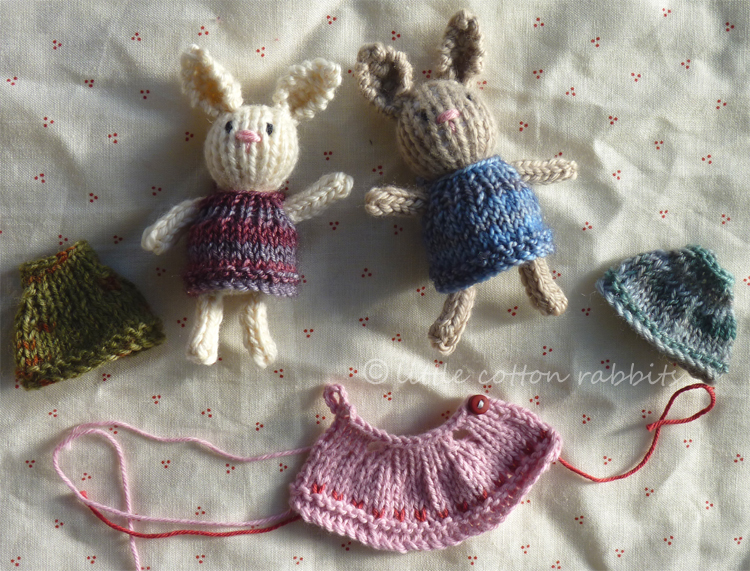
It’s been a busy week here and I had a lovely day on Tuesday at my first ever workshop ‘teaching’ session. I woke up really early in the morning and was feeling really nervous before we started, but I was lucky to have the nicest group of ladies turn up and we all chatted and knitted and made mini bunnies. Thanks so much to Susan, Jackie, Emma, Esther, Iolanda and Rose for coming along and making my nervousness evaporate!
To help take my mind off feeling nervous I had a play around with some yarn at the crack of dawn on tuesday and came up with a little teeny tiny dress pattern for the mini bunnies. If you’d like to make one the pattern is over here with the rest of my free patterns.
Thanks again for all of the kind messages about Toby. He’ll move on from this rocky patch when he is ready to and in the meantime I’ll just do my best to keep life calm and reduce stress for him. If there is one thing I’ve learned in the last 11 years it is to take
each day one at a time and not assume the bad bits will last forever, so far that kind of thinking has worked anyway 🙂
Have a good weekend x