I started writing this post back in August but the school summer hols got the better of me and it didn’t get finished so I thought I’d show you
now some of the things I started knitting over the summer.
As is usual for me in the hottest time of the year I started some winter
weight projects in the form of gloves, wristies and scarves…
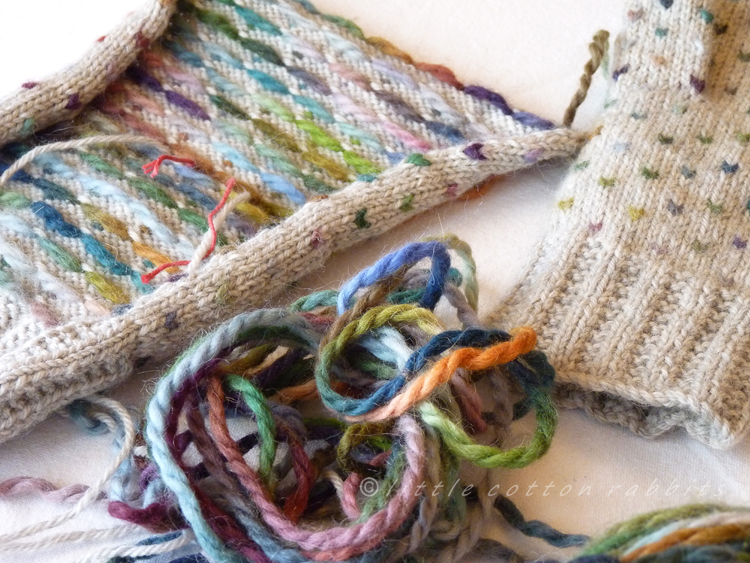
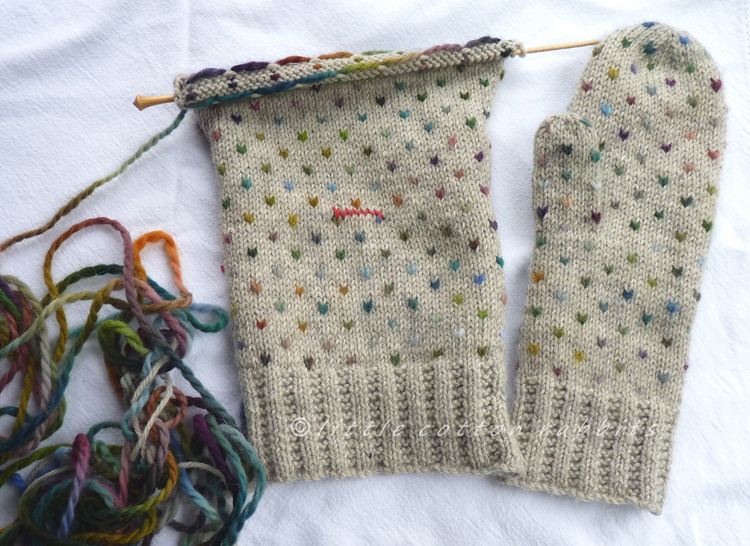
“Fake Thrummed mittens”
Pattern: from the Purl Bee’s lovely simple free pattern with tweaks
(see my ravelry project page for details). I love the look of thrummed
mittens and thought I could capture a similar feel by stranding a
thicker multi-coloured yarn. I’m pleased with how they’re turning out and the stranding on the
inside makes them lovely and warm.
Yarns: Cascade heathers 220 in Aspen Heather 8011, with accents of Misti Alpacas hand paint chunky in Gemstones
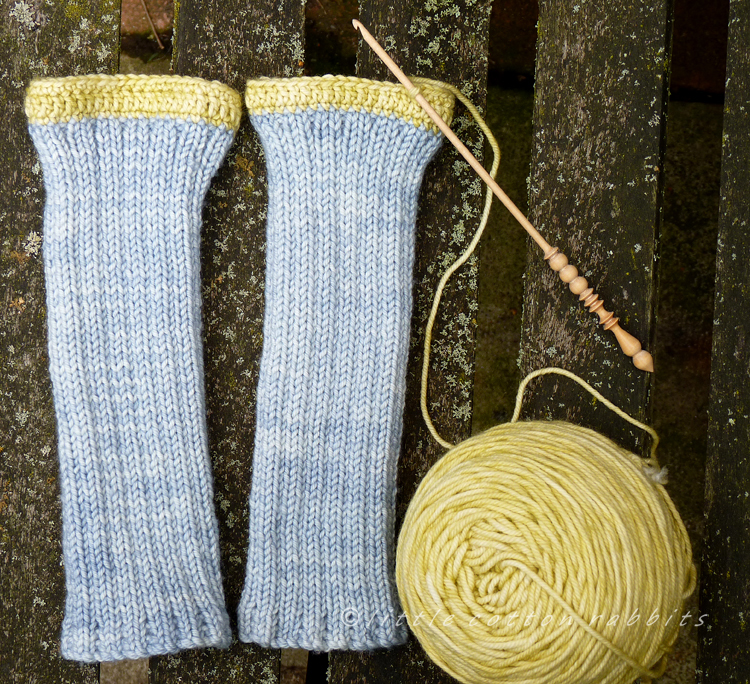
“warmer wrists”
Pattern: wristwarmers with tweaks for the thicker yarn
Yarns: Madeline Tosh Vintage in Chambray and Ivy
“frothy scarf”
Pattern: Alpine Frost scarf by Amy O’Neil Houck
Yarns: Malabrigo yarn lace in Pearl
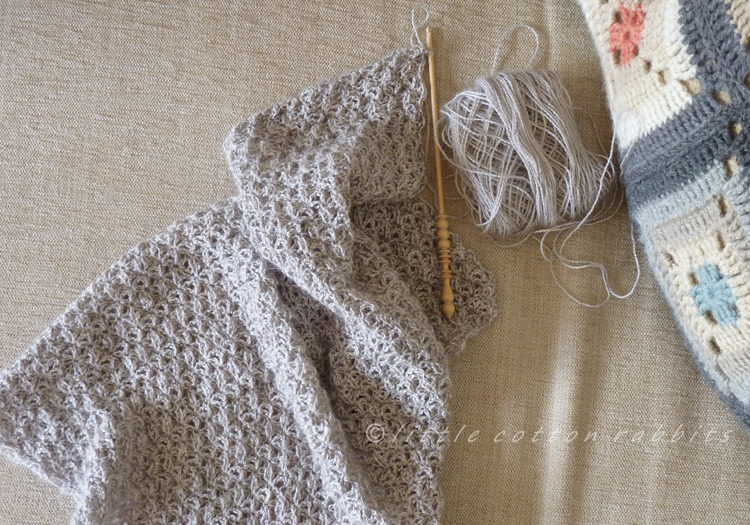
I’m also making slow and steady progress on the crochet blanket that I started earlier in the year, but more of that another time.
The seasons are definitely turning and colder weather is arriving so I’ll be pressing on with these and wearing them all too soon. I’m also feeling in a baking mood, I think I’ll be making an apple cake this week with the apples our heighbours have just given us from their tree
Can you feel the seasons shifting and are you all set for a change?
………………………………………………
PS: Thanks so much to Let’s Knit for inviting me to guest post on their blog