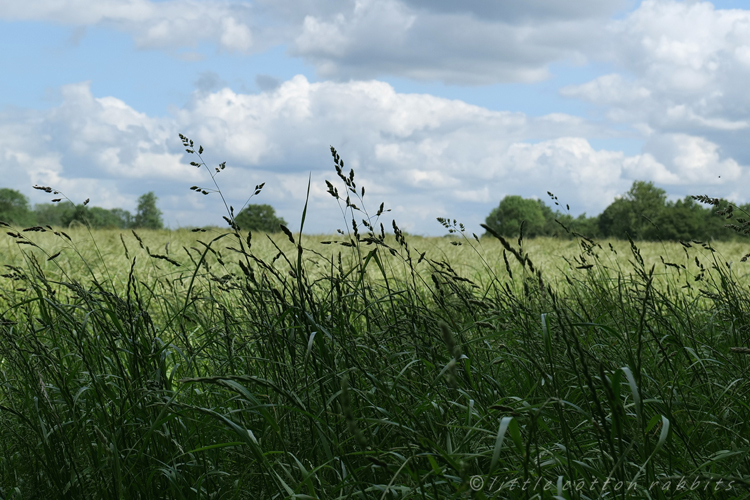


The beginning of July was so very hot and dry here, too hot to sleep comfortably or to knit in the daytime, and so dry that the countryside was soon looking very parched. The cows knew something though (cows lying down is supposedly a sign that rain is imminent) and by the middle of the month the welcome rain did sweep in, bringing freshness and quenching the countryside back to a lush green again. Toby and I have enjoyed our regular walks so much more in the welcome cooler temperatures, and he has slept better too – he is so restless on very hot nights and often up wondering around the house, meaning that one of us needs to be up with him too, so it’s been nice to have some unbroken rest again.
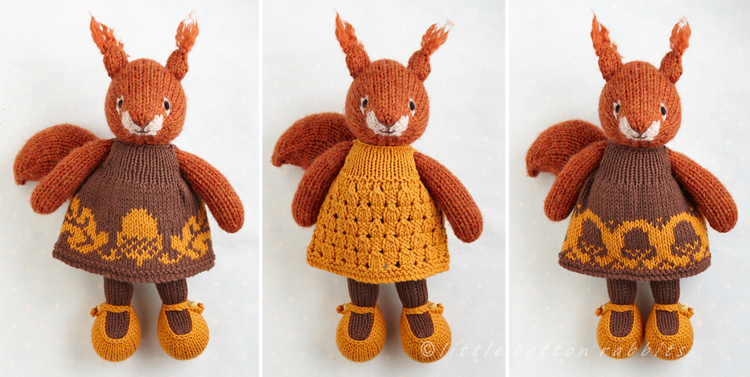
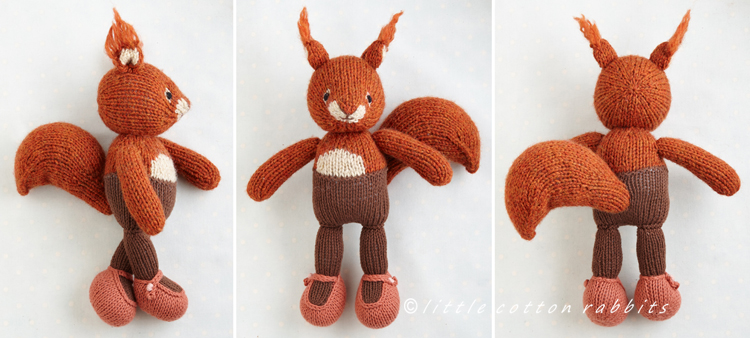
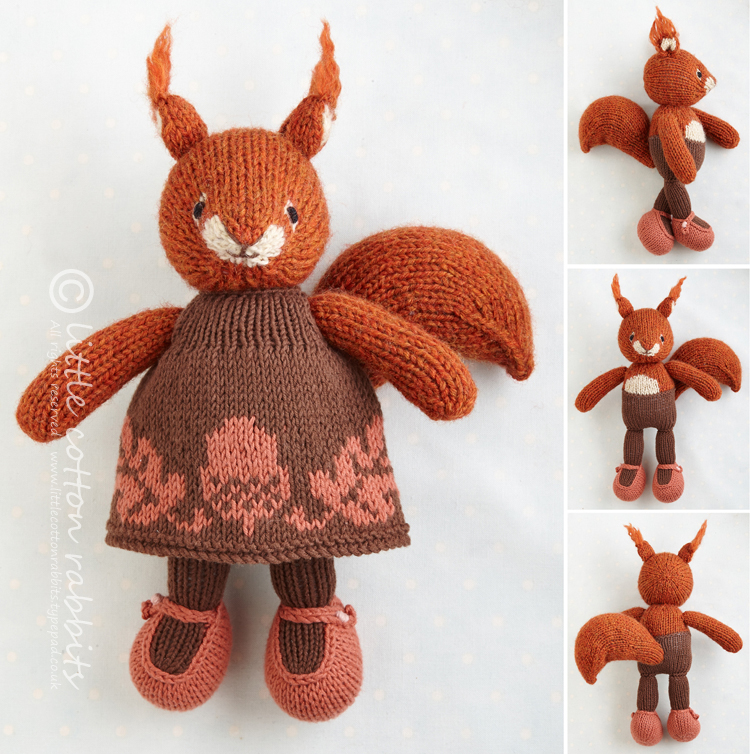
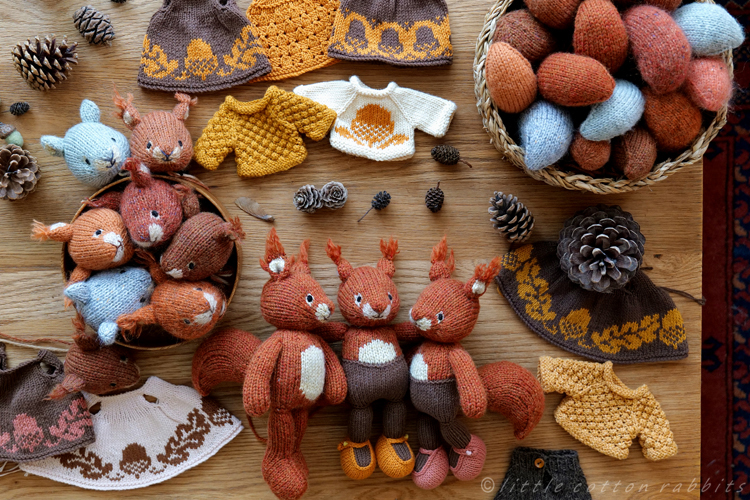
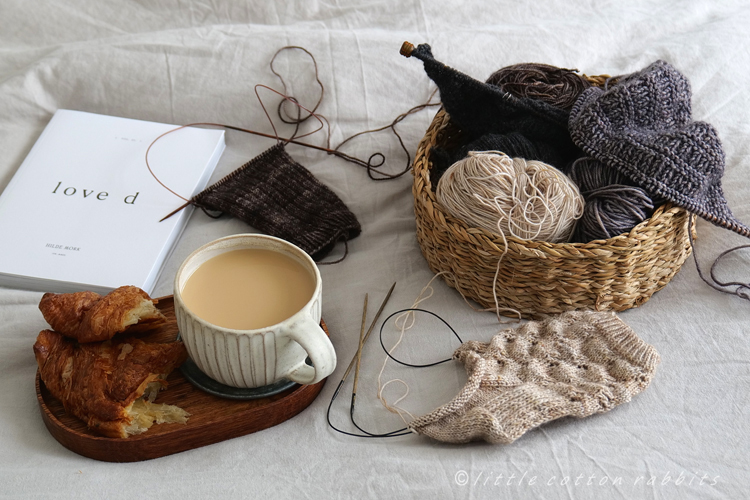
Since launching the squirrels patterns at the beginning of the month I’ve been taking things slowly; starting my quiet days with breakfast in bed and some simple sock knitting; tidying and organising the kitchen a little; pottering around without much of an aim and generally enjoying nothing much on my to do list other than taking care of Toby.
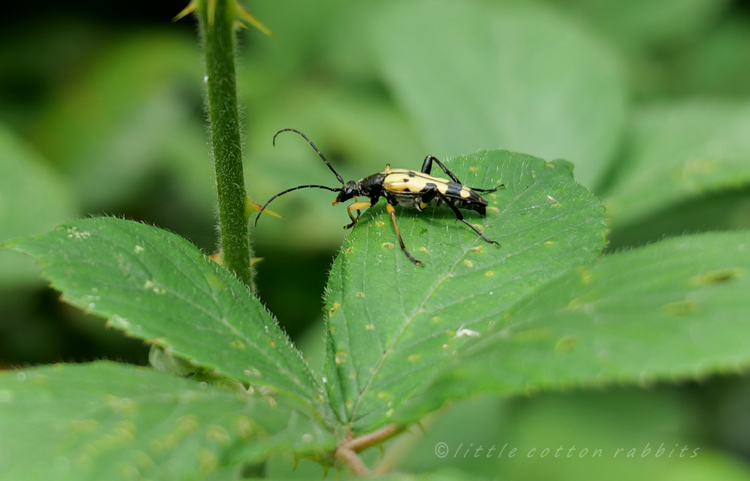
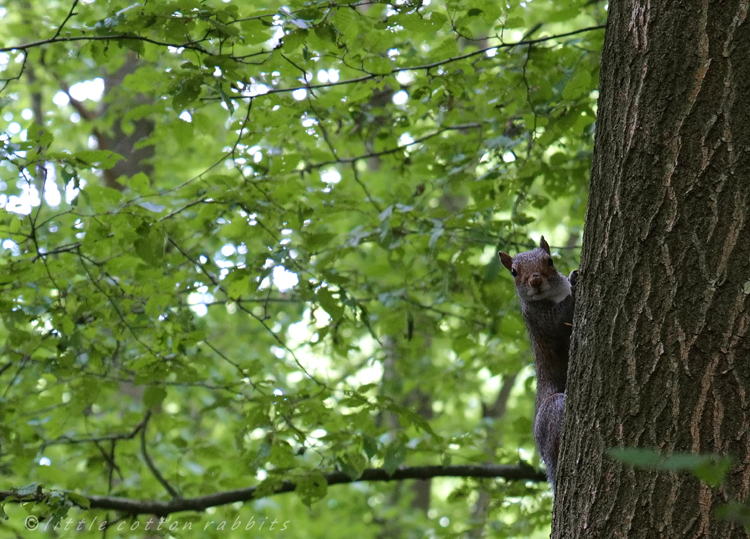
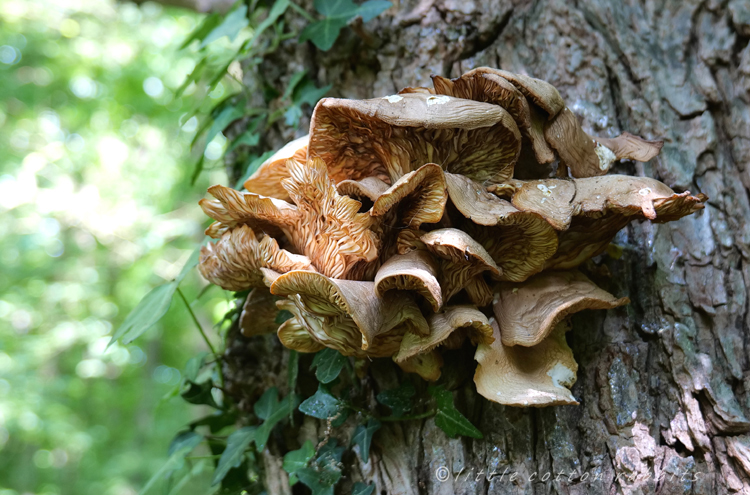
Well, there’s not much else to report from here really. Summer is my least favourite season but even so there are always things to delight in, I’ve detailed some of them below in my monthly nature notes.
I hope that you’re comfortable and content where you are,
J x
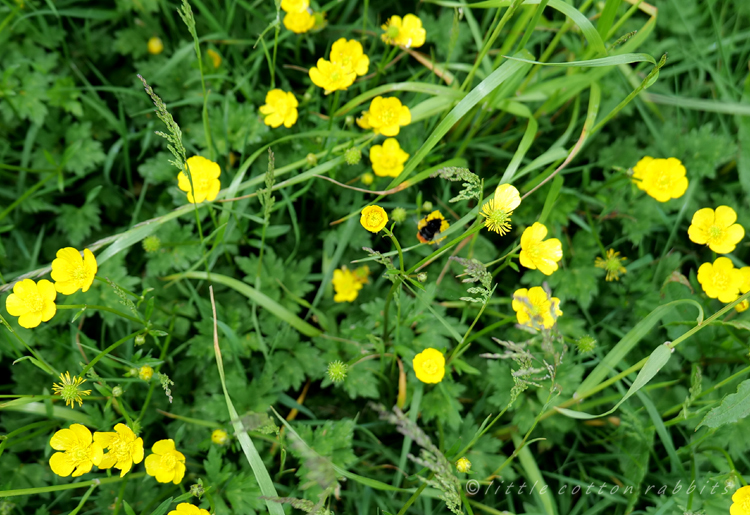
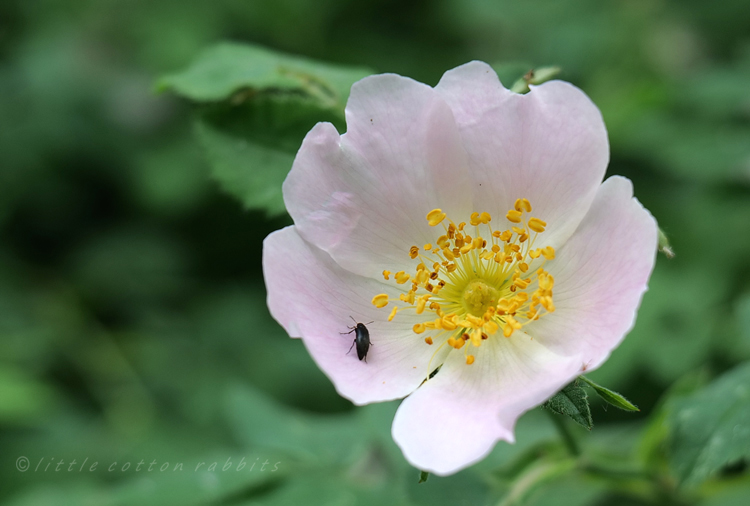
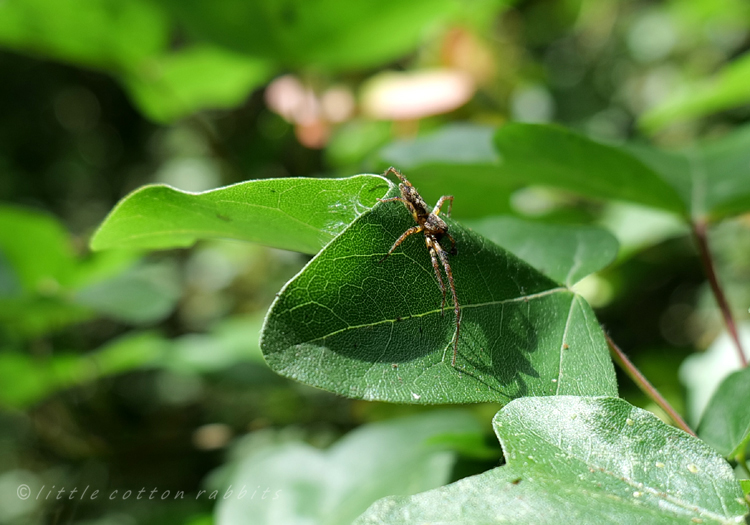
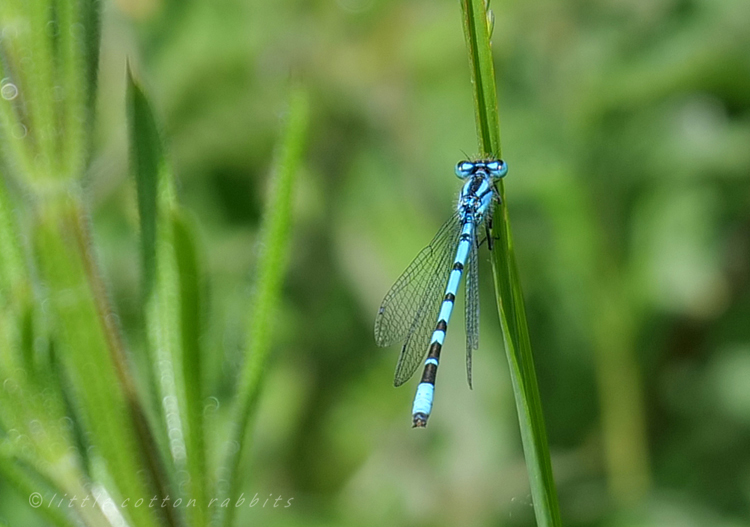
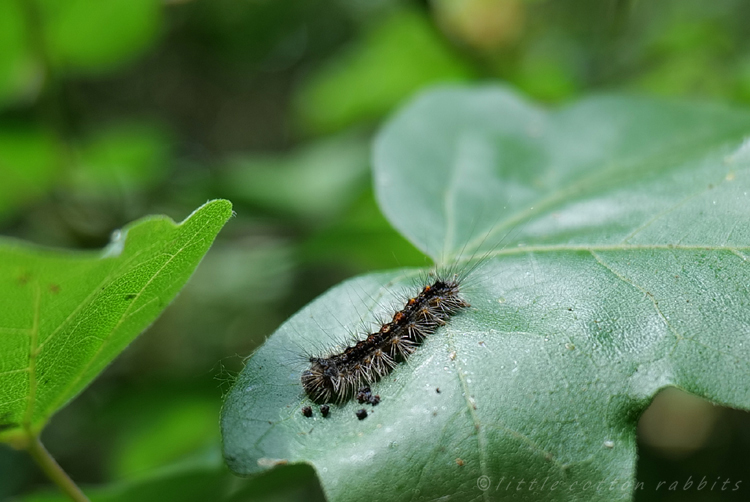
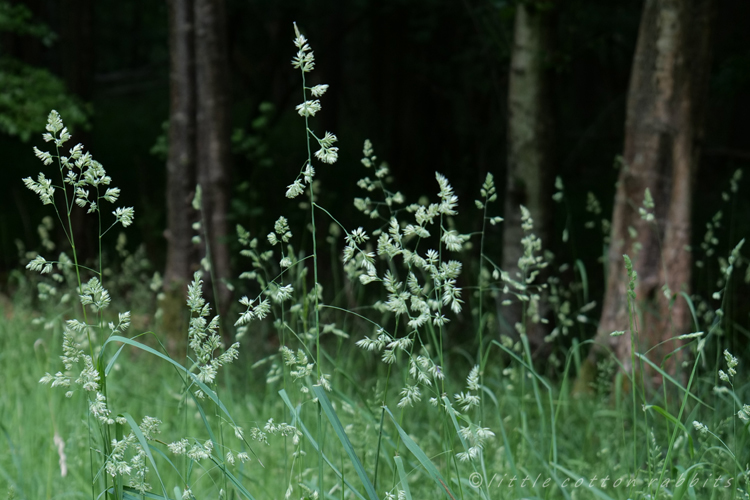
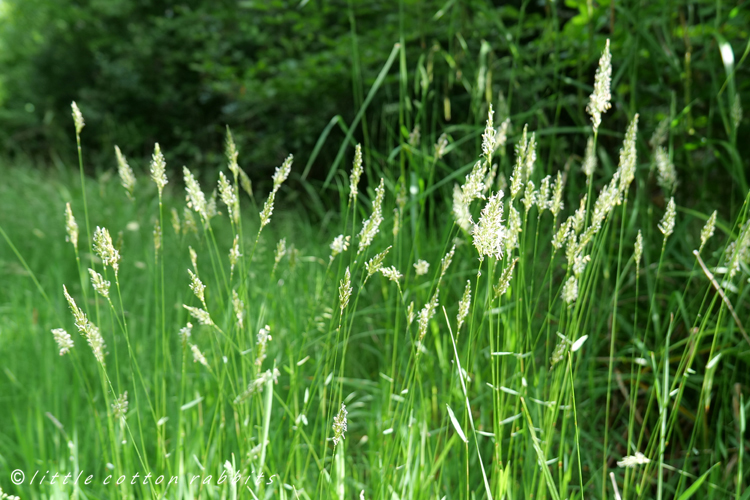
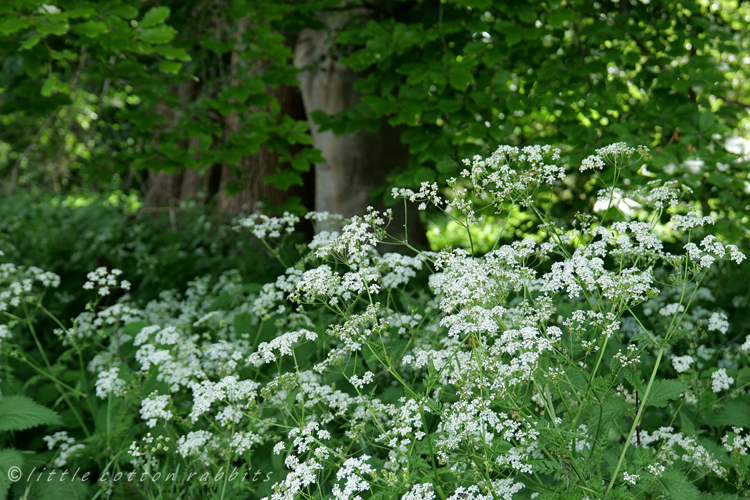
Nature notes from July:
- Week 1: So hot and dry, uncomfortably so at daytime temps of 32 degrees and night time above 20 degrees
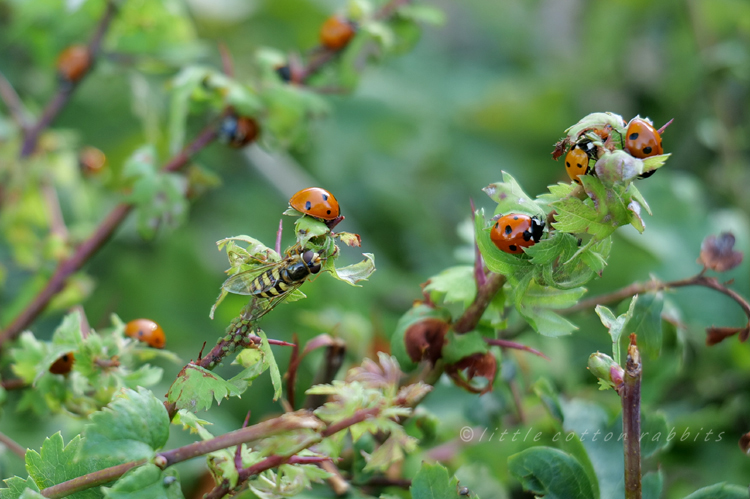
- Week 2: An amazing sight on the evening of July 10th when a cloud of ladybirds flew over, many thousands by the look of it, many settled on the hawthorn hedging where there were quite a lot of aphids to feed on. I have never seen so many at one time, the air was thick with them for around half an hour
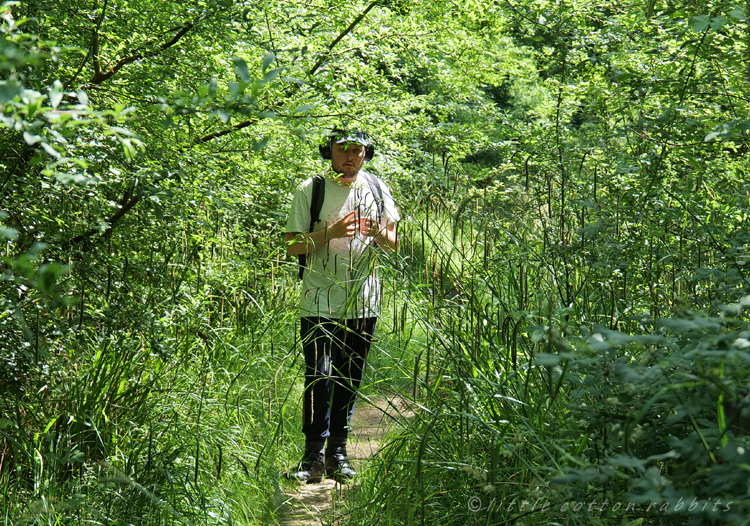
- Week 3: Rain and cooler temperatures arrive, so very welcome and Toby and I happily walk in the light rain
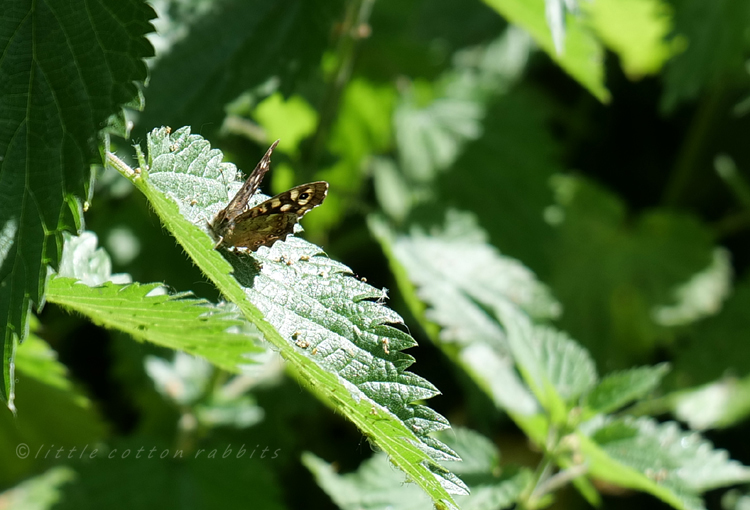
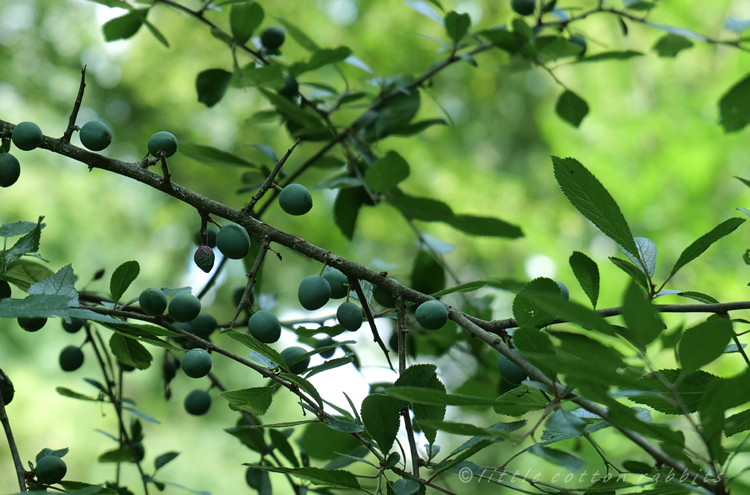
- Week 4: All of the branches of the plum tree in our garden are weighed down under the enormous weight of a bumper crop this year. I’ve also noticed that the wild plum trees are also bowed over by the abundance of their fruit. Other things that I’ve noticed many more of this year than usual are insects and butterflies, especially the Ringlet (most years I only see a handful but they have been most numerous this year). It must be down to the hot and dry conditions throughout spring, favouring certain species and bringing about a greater number than usual.