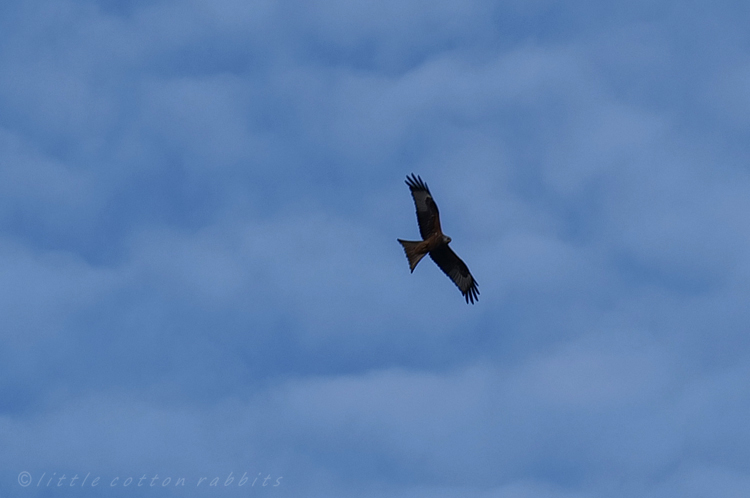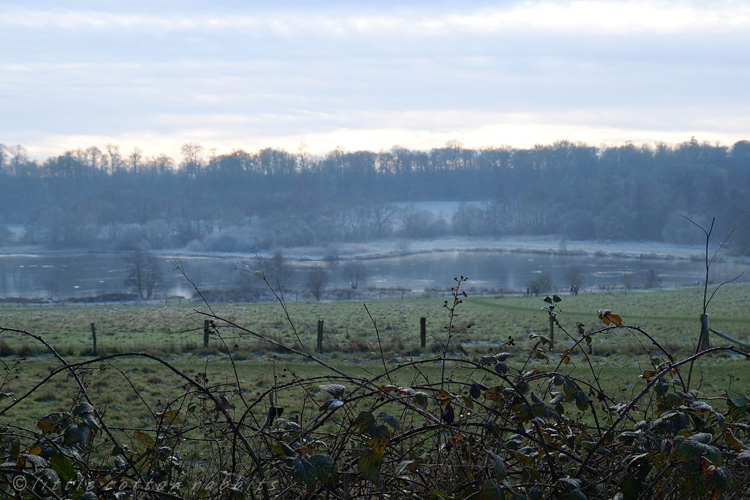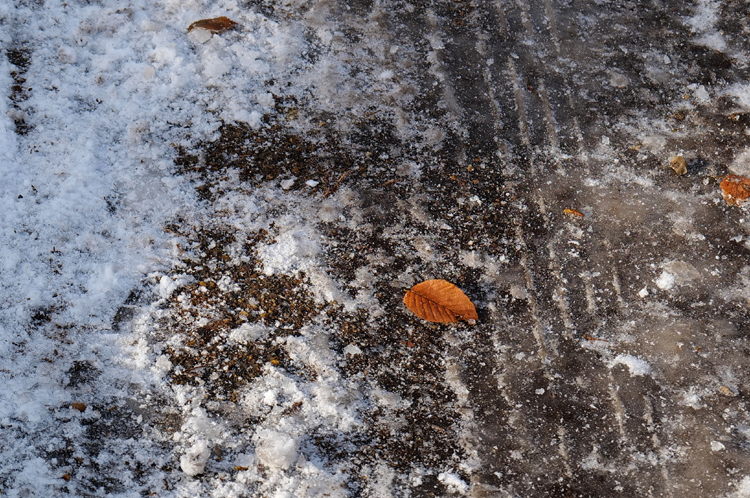


March is one of those lovely liminal months where seasons are transitioning. Days can start with sharp frosts or sleety rain and the feel that winter still is here, or can be bathed in warm sunshine, drawing delicate scent from early blossom and bright bird song from the tree tops. The change from winter to spring is never a smooth linear transition, it is more like the ebb and flow of waves on an incoming tide, each one advancing just a little higher up the beach and March days feel just like this, each one advancing just a little more towards warmth and regrowth and lengthening daylight.
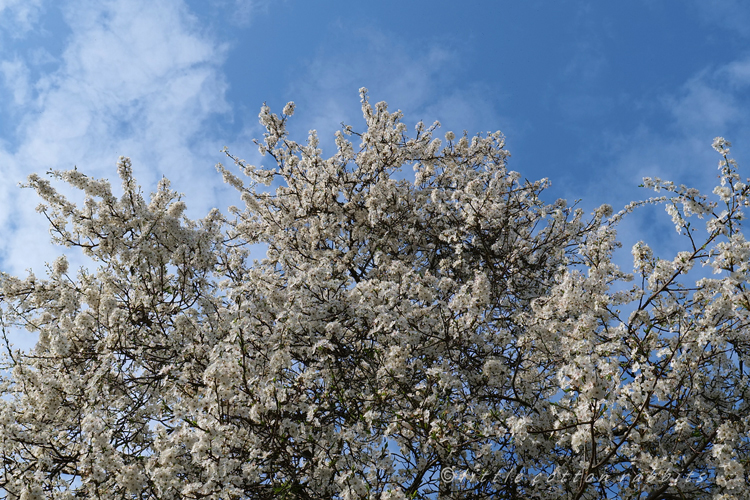
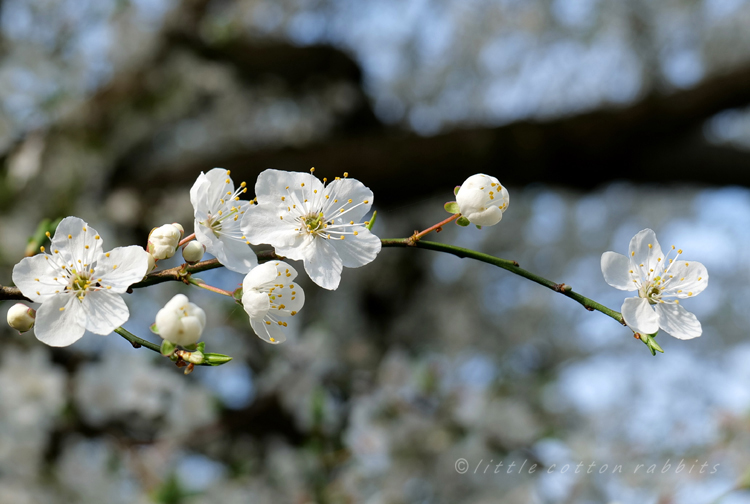
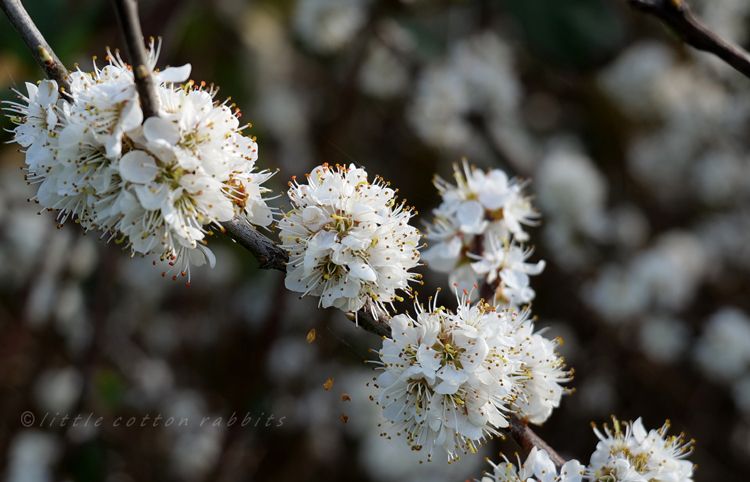
At the beginning of the month the first hedgerow blossoms were opening on the wild cherry plum trees and here at home on our damson plum tree which looked gloriously beautiful and gave great delight for a week. Now, as the end of the month draws near, it is the turn of the blackthorn blossoms. Blackthorn or sloe bushes flower on bare stems with the new foliage opening after the blossoms have faded. This makes for such a beautiful sight, with white clouds of blossom lining the roads and field margins.
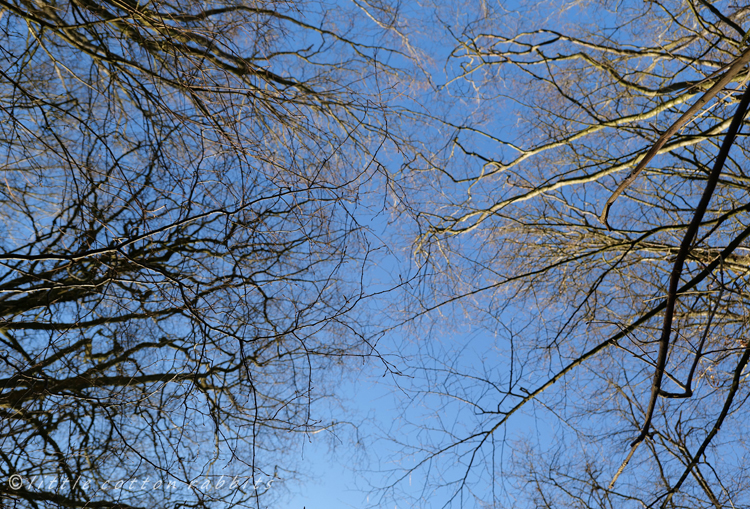
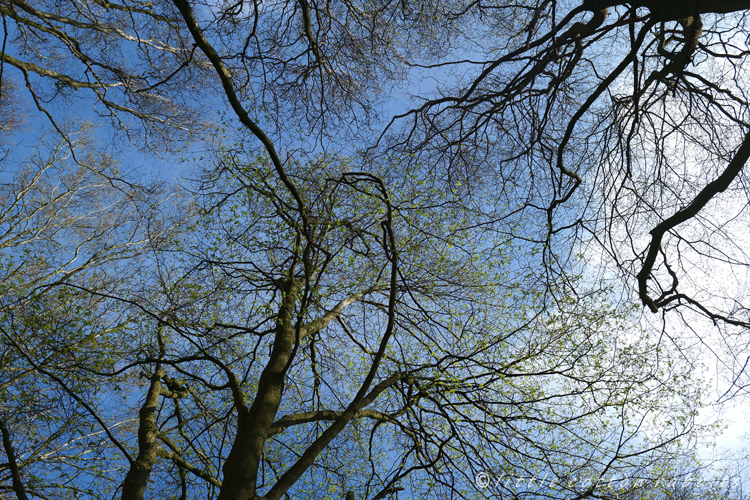
The first green shoots of new leaf growth are gradually opening on many of the trees and aconites, anemones and daffodils are blooming under this gradually greening canopy. And this coming Sunday the clocks go forward an hour, which always brings delight, as the lengthening days mean that light lingers until evening. Even when life feels a little heavy these are all hopeful things that bring small joys.
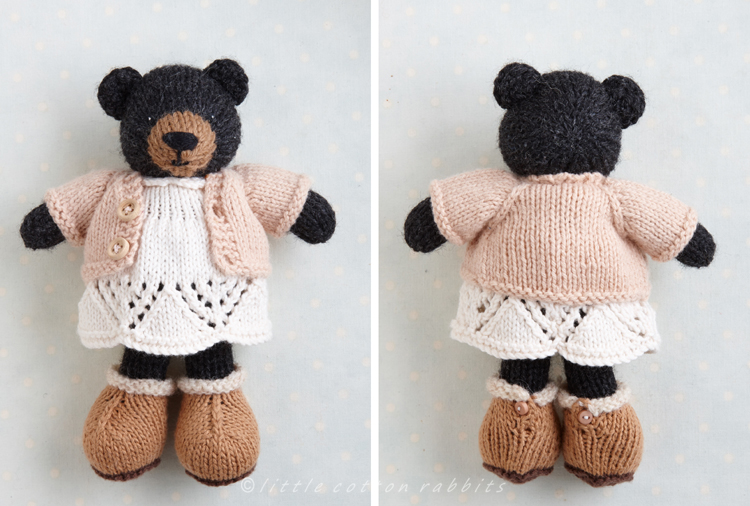
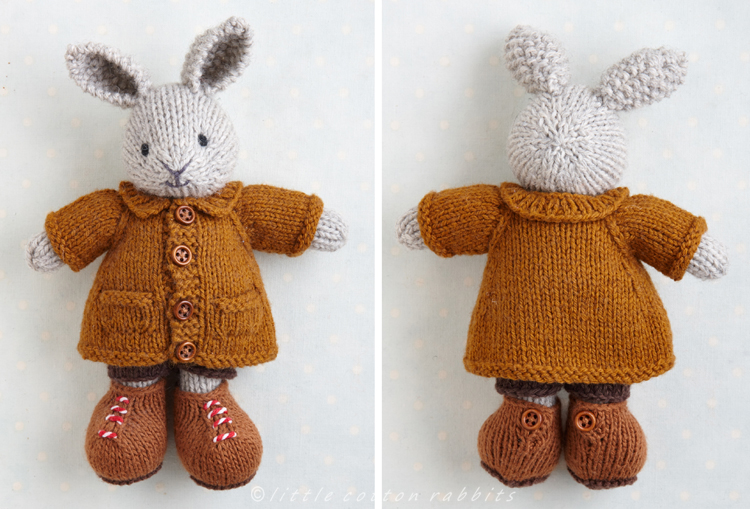
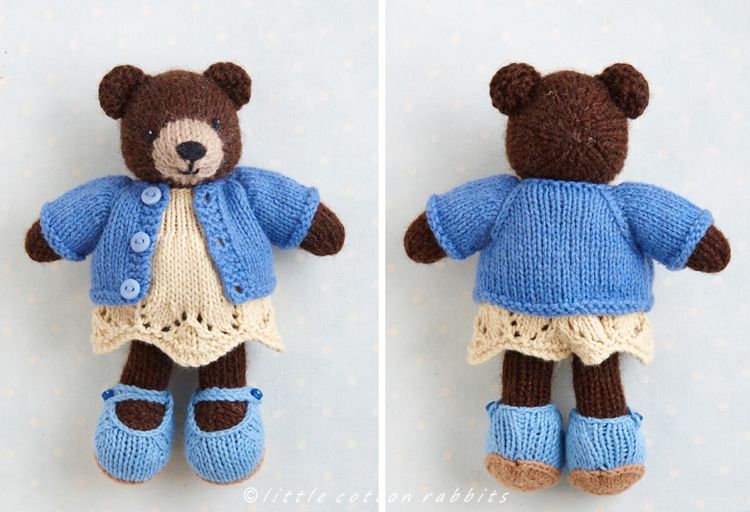
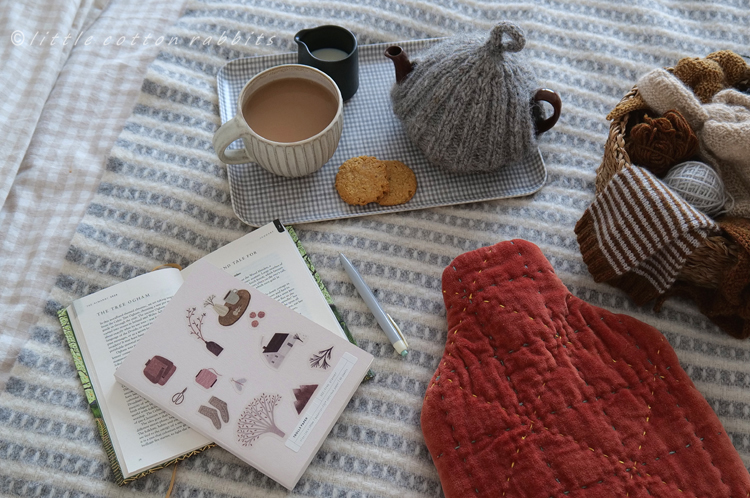
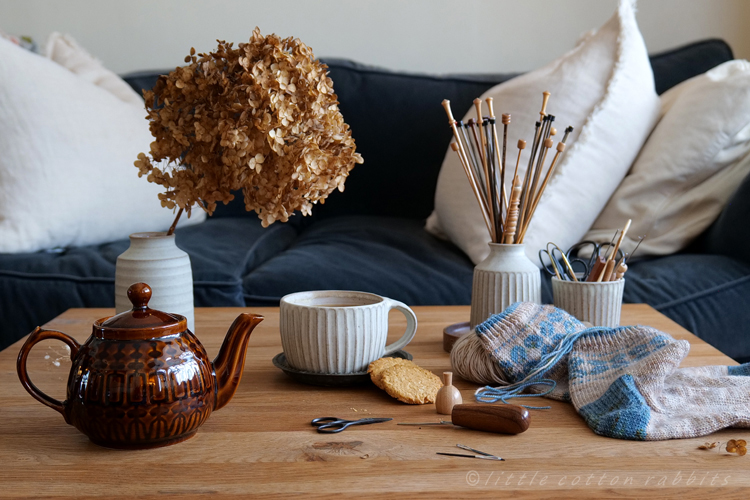
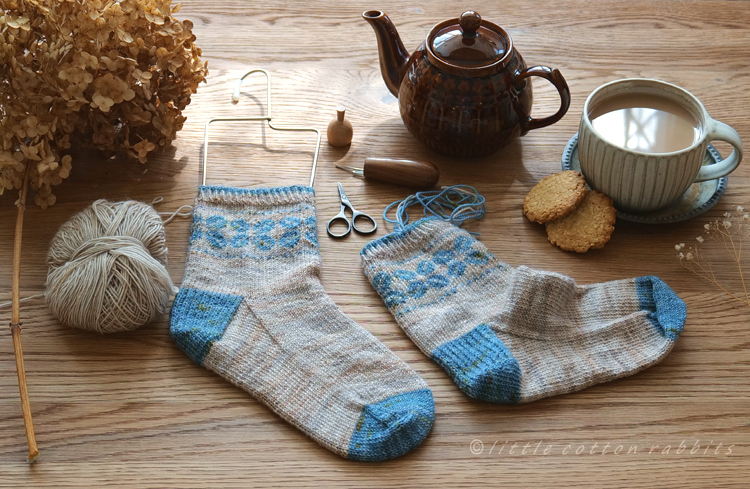
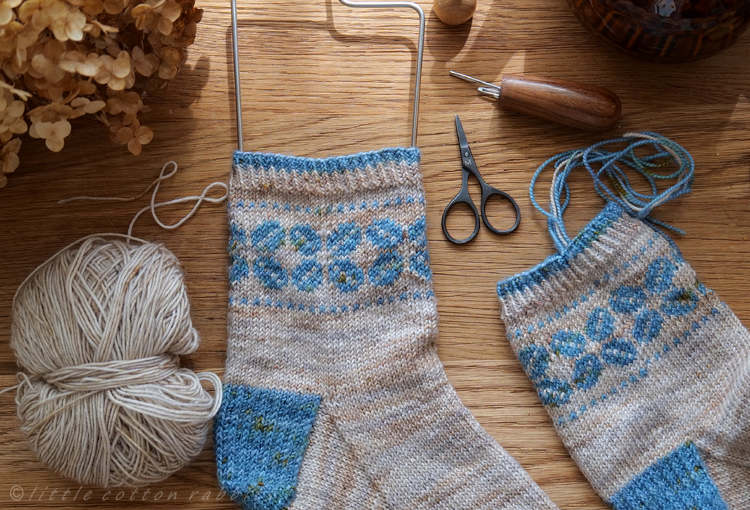
Knitting is happening too. For a while now I have had a plan to take new photos for the front covers of my early patterns and so I’ve been busy making new sample animals and clothing in currently available yarns. As always these days though progress is slow, but a small step forward is better than none at all. I’ll keep you posted on progress and hope to begin working on some new patterns soon too. In the slow and quiet moments of the day I knit socks, mostly choosing patterns that I have knitted many times before, such as this one ‘Lucky me’ socks by Sofia Capelle.
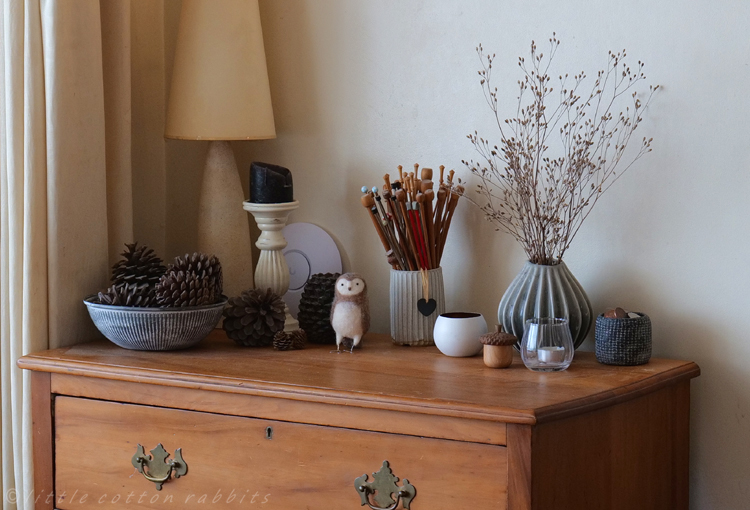
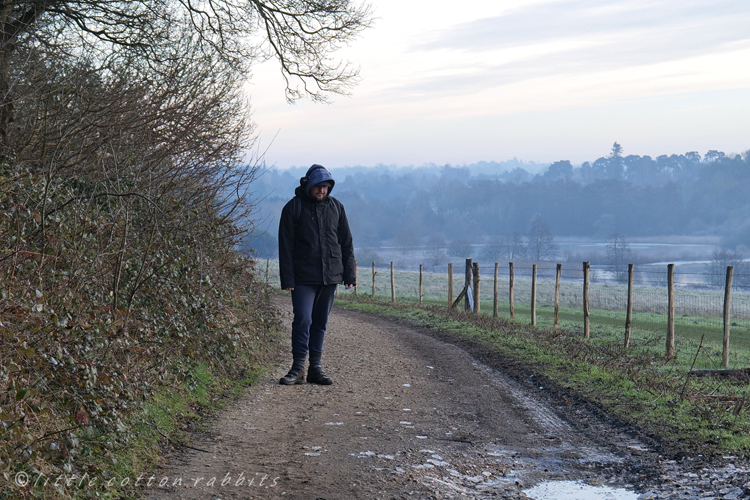
The more years pass by, the more I realise how much comfort there is to be found in the familiar. The familiar turn of one season to another, the familiar trees along our regular woodland walks, familiar routines day after day, familiar patterns knitted time and time again, so much so that they are in my memory. It will sound boring to some, but it gives me a sense of calm and order and pleasure especially when things outside of my control feel unpredictable and stressful. How about you, do you like your routines or do you prefer the excitement of something new?
Well, I’m off to get Toby a snack, so I will say goodbye for now and leave you with the wish that you have a good few weeks ahead of you where you are, see you in April sometime, J x
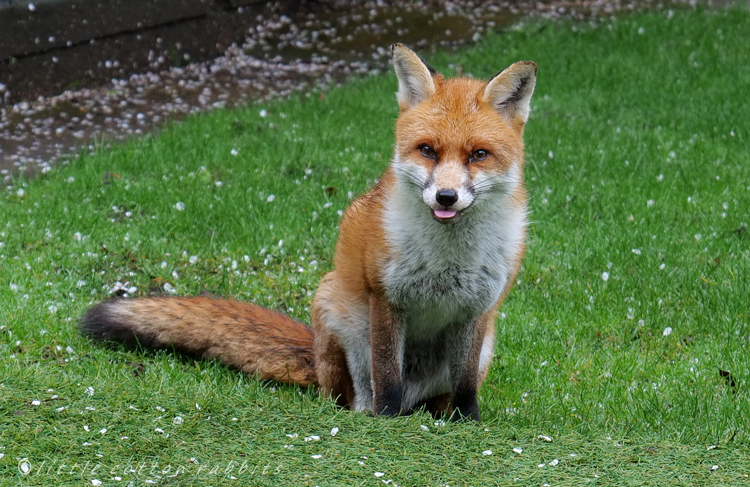
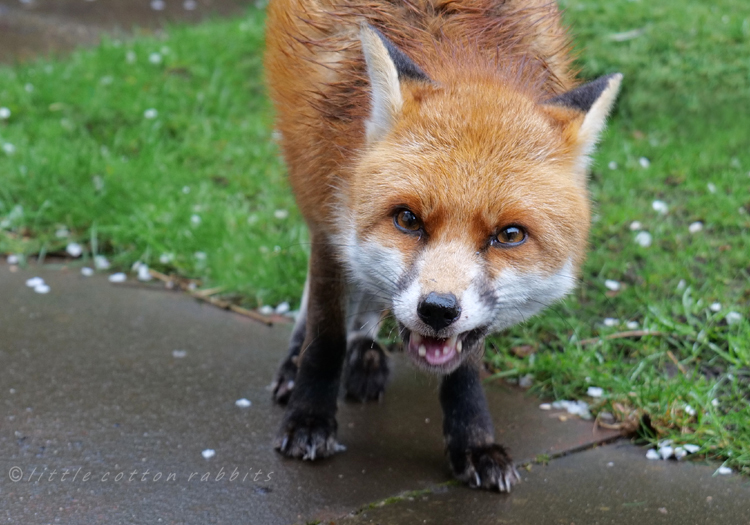
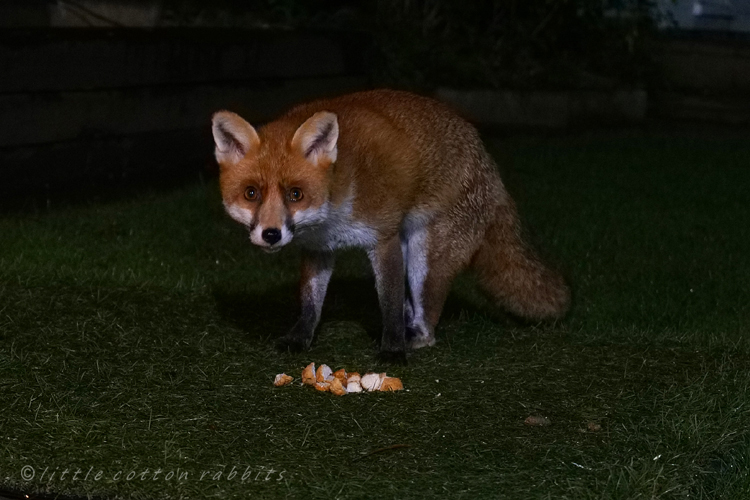
PS: (added after getting Toby’s snack), I wanted to give you an update on Katsue the fox. I mentioned in February that she had picked up a new injury which looked quite serious, and I’m very happy to say that she is doing well. She is still limping but moving with much greater ease than she was, and though she is still coming to visit most days she’s no longer encamped in our shed and has returned to her den. I still check the shed daily so see if she’s asleep in there but it’s been over 12 days since she moved out and she is now back to coming for her snacks mostly under cover of darkness.
It seems that she will always have a limp in both back legs now but I’m confident that she is managing well and does not need human intervention (other than small snacks). I feel that intervention should always be kept to a minimum with wild animals and that they should not be removed from their family group and familiar territory unless it is a life threatening situation. It is an enormous relief that she is recovering from her injury well enough to live a normal and very wild life.