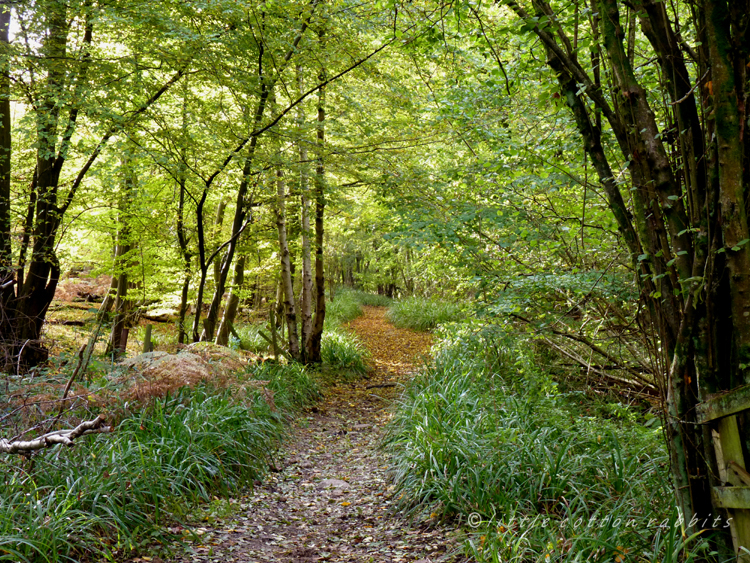
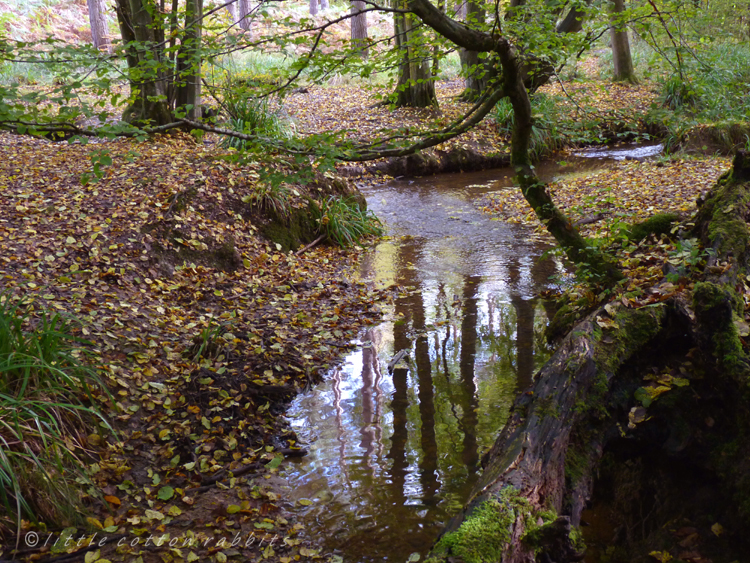


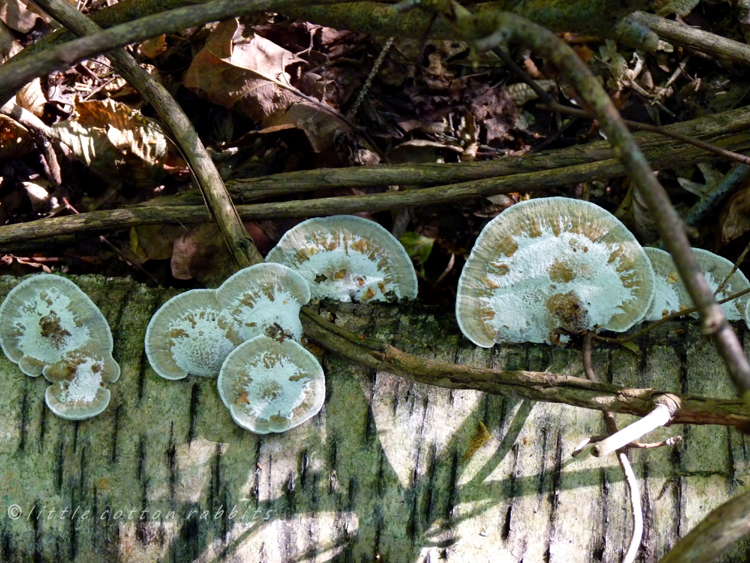


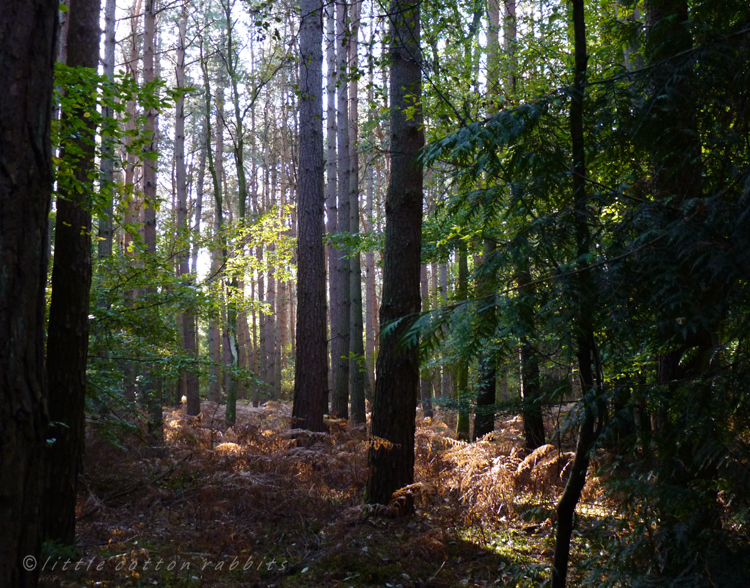


It’s that time of year again, when the autumn woods are calling me, and this year more than ever I’ve been craving the peace they hold beneath their branches. Throughout October I’ve wandered their pathways many times, ambling along at my own pace, scouting for interesting fungi, listening to the wind in the tops of the tall trees and the song of small birds hidden in the thickets and each time I can feel the accumulated tension seep from my body, down through my boot soles and away into the damp and springy earth below.
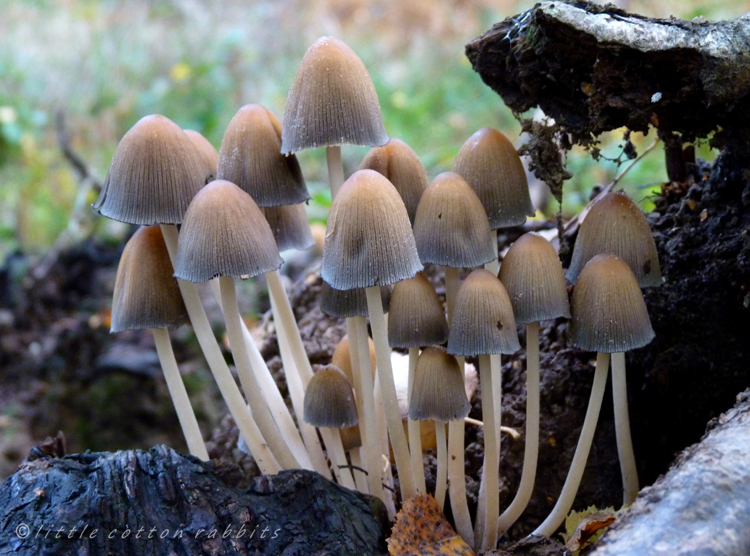
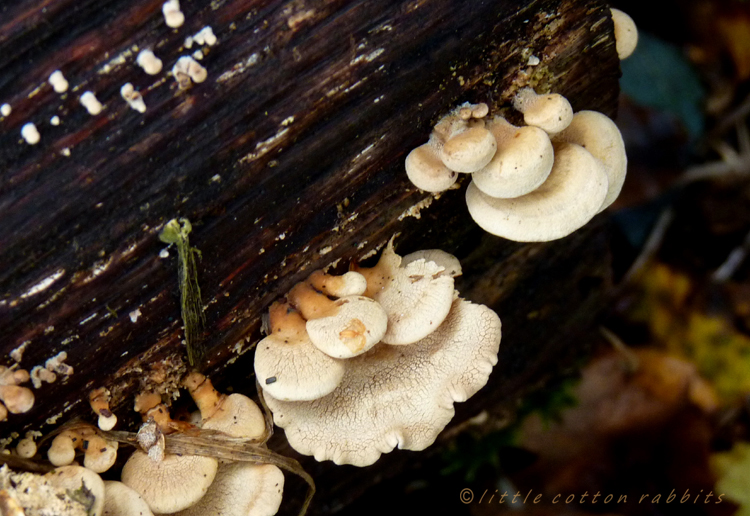
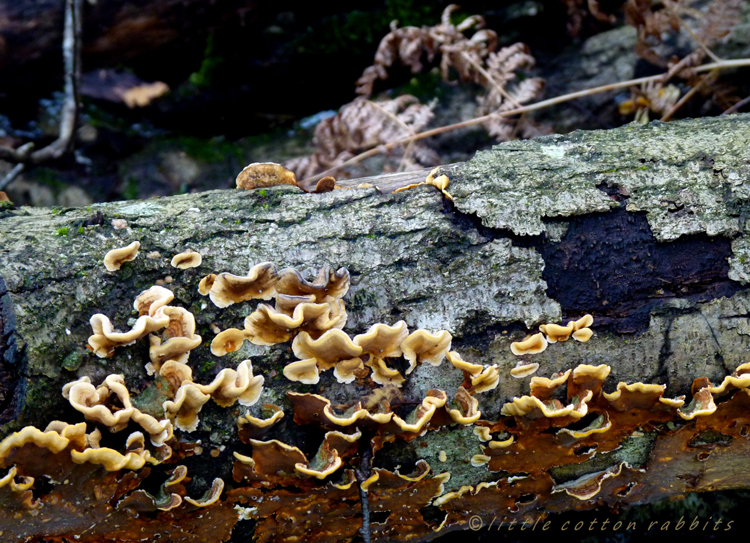
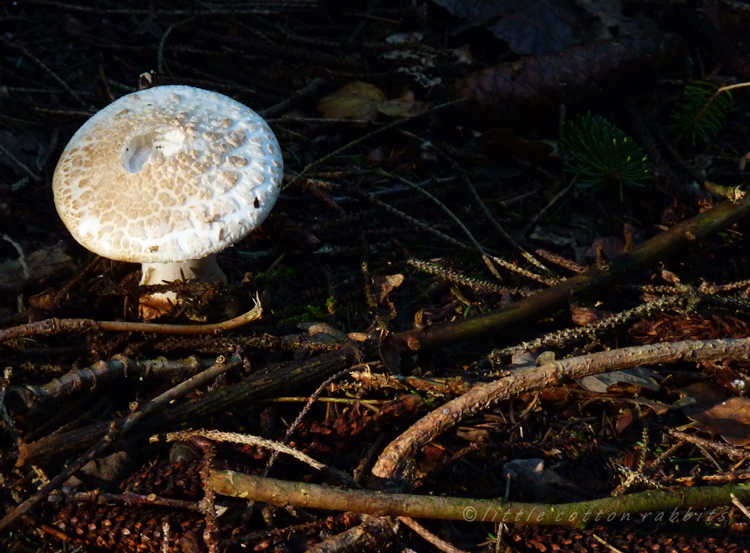
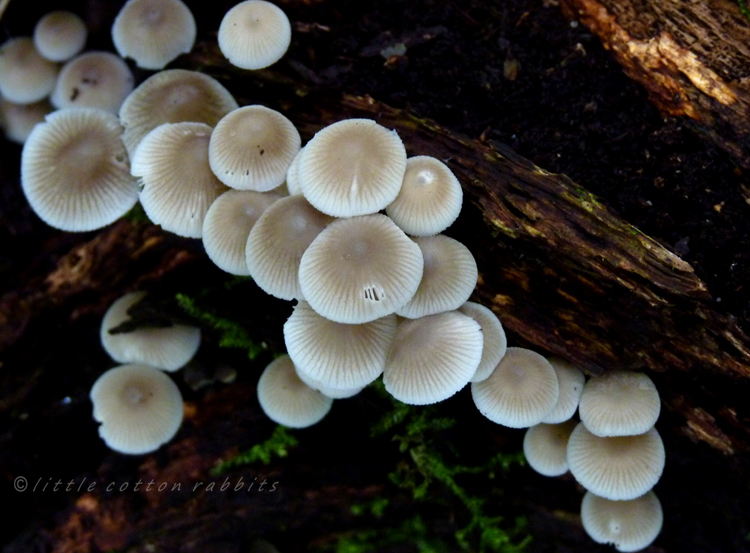
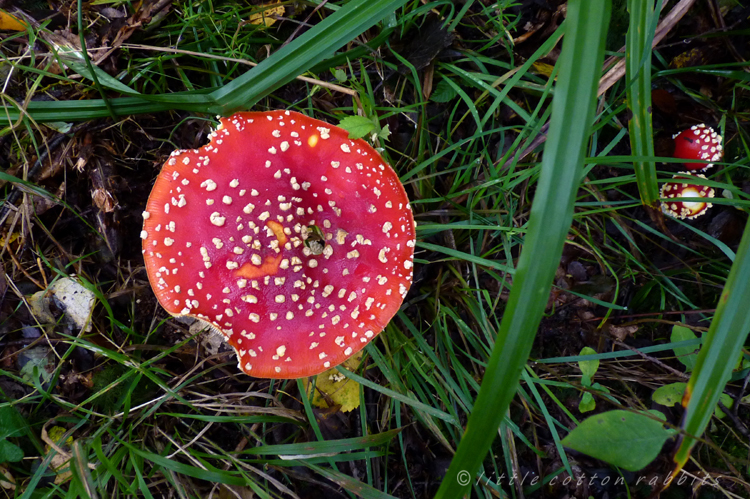
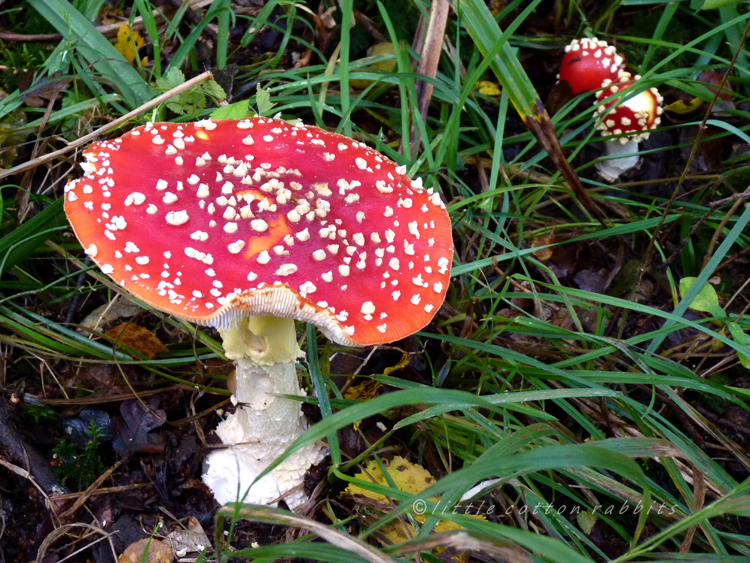
At other times of the year these walks would take me 45 minutes or so but in autumn, with so much to see, they can easily take me a couple of hours and inevitably end with me having wet muddy knees. As always I’m stumped by the names of many of these amazing fungi but then appreciating their magical beauty doesn’t require an understanding of their taxonomy. They’re each wonderfully unique and I’m always thrilled to discover and photograph each of them as I make my way through the wood. I hope you enjoy them too and that you’re finding your own small ways to navigate these anxious times that we find ourselves in xx
These pictures were taken across many walks in October 2020 at Broxbourne Common, Cowheath wood, Danemead, Brambles wood and Broad Riding wood.