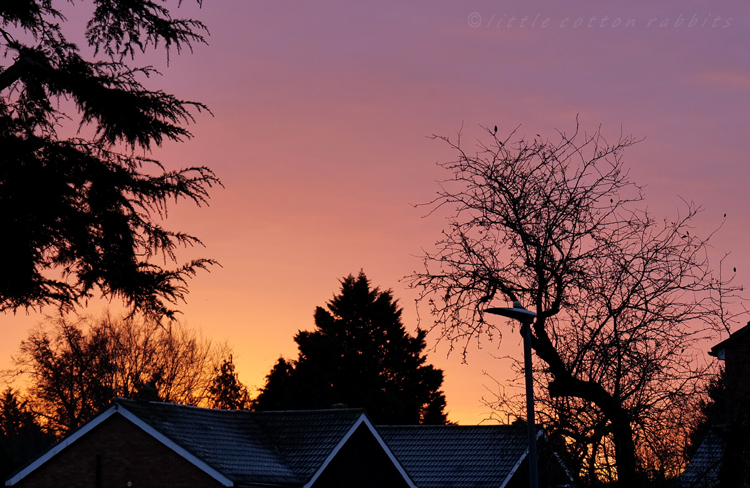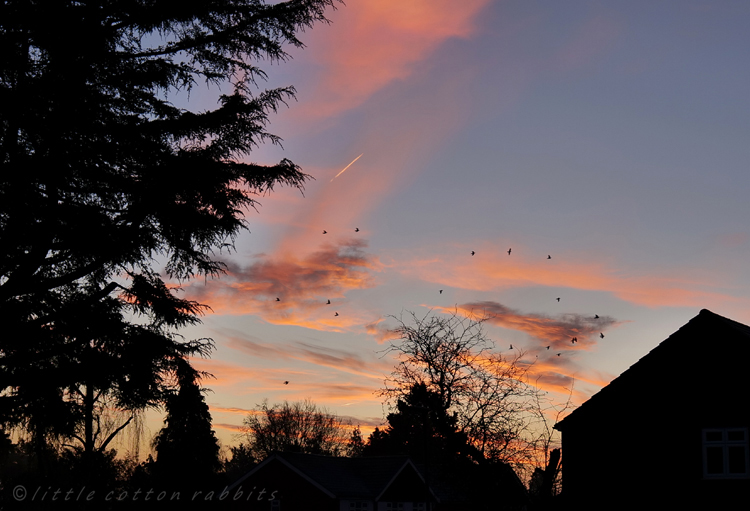


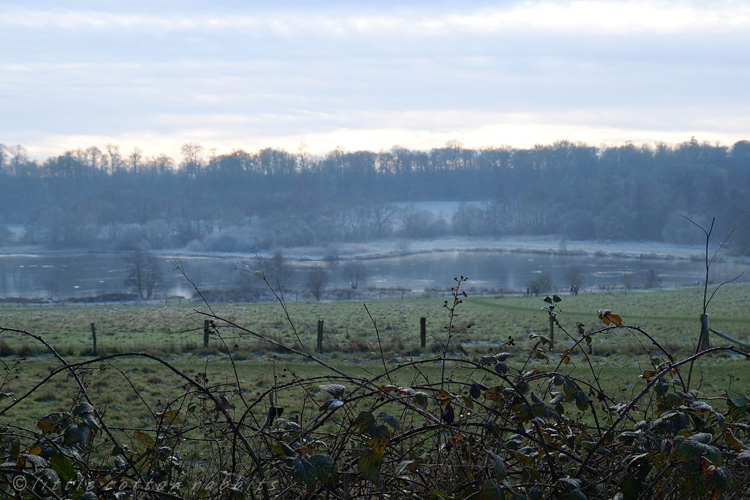
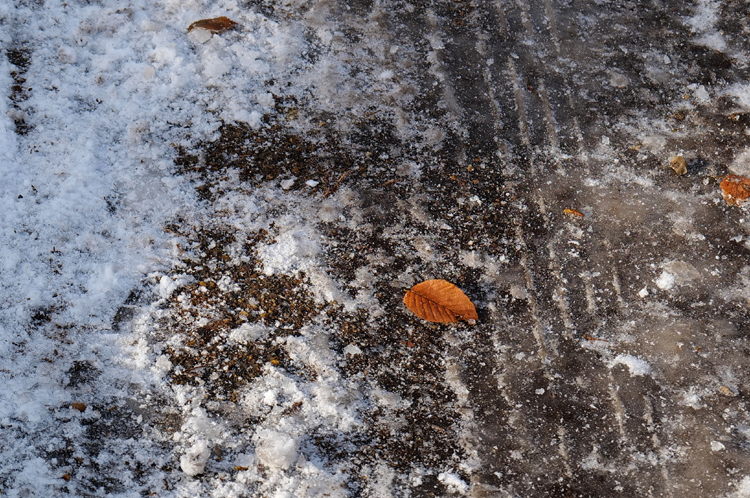
The new year started off beautifully here, with bright cold days, glory at both dawn and dusk, and even a little magical sprinkling of snow. More recently at this end of the month it has been milder and a little overcast and we’ve now had a good deal of rain, with of course the accompanying mud.
Many people seem to find January a depressing time of year, but I rather like it. January seems to be a hopeful month to me and the time to plan and organise, to daydream of summer warmth and long sunny days, and to look forward to the coming year. I much enjoy my annual ritual of writing all important dates in my new diary, along with notes about the dates for each full moon and other interesting events, and the feeling of being organised and prepared is a nice one, even though it may not last for long. I’ve also enjoyed rearranging our living room after H moved in an old chest that has lived in our hallway for the last 30 years. We bought it many years ago just after moving in to our first home together. At the time it was covered in paint and H spent many hours stripping and sanding and fixing it up, and cursing just a little that I had not fallen in love with a less problematic piece of furniture! Although I have walked past it every day in the hallway it had become just a surface to put things on, obscured by backpacks and bags. It looks much nicer now in a prominent spot in the living room, making the room feel more cosy and homey and looking at it brings back happy memories for me.
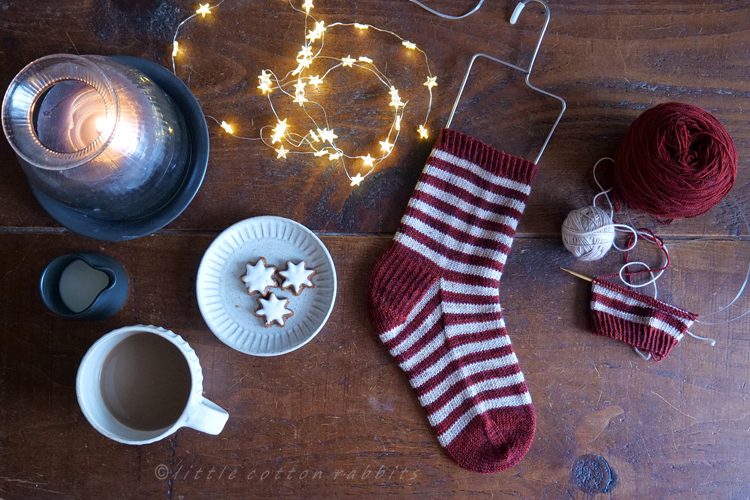
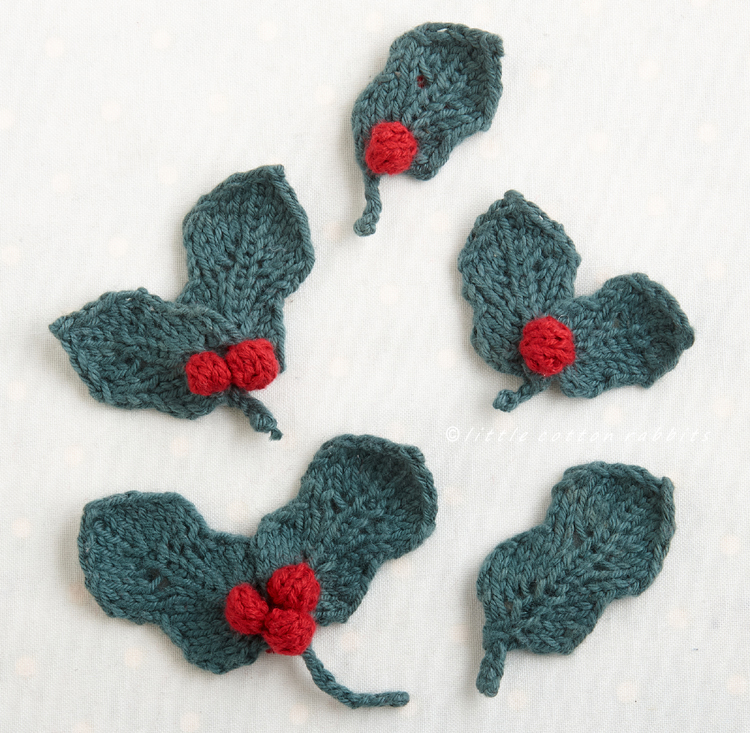
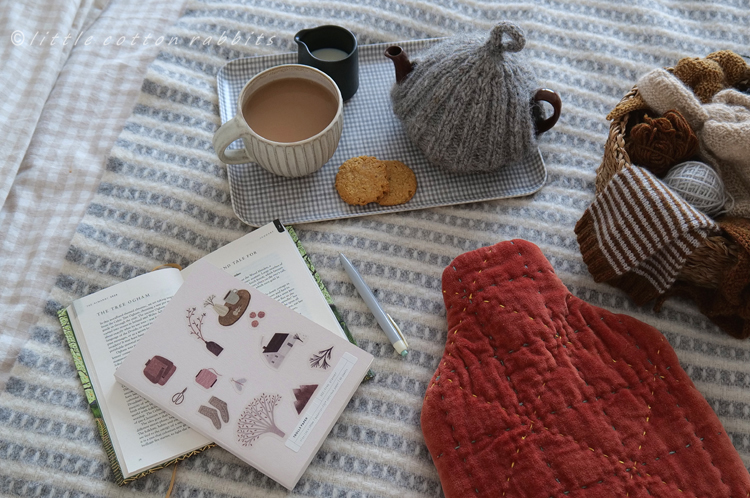
My January days have mostly been slow paced, centred around comfort, quietly peaceful, and I suppose a form of cosy hibernation at times. Sat in my comfy little living room I’ve been knitting a couple of small scarves and a pair of wrist-warmers, all in Cardiff Cashmere Classic yarn which is so very soft and warm, and I’ve also been making a tentative return to pattern writing. It’s slow going but I have made a start and that feels good.
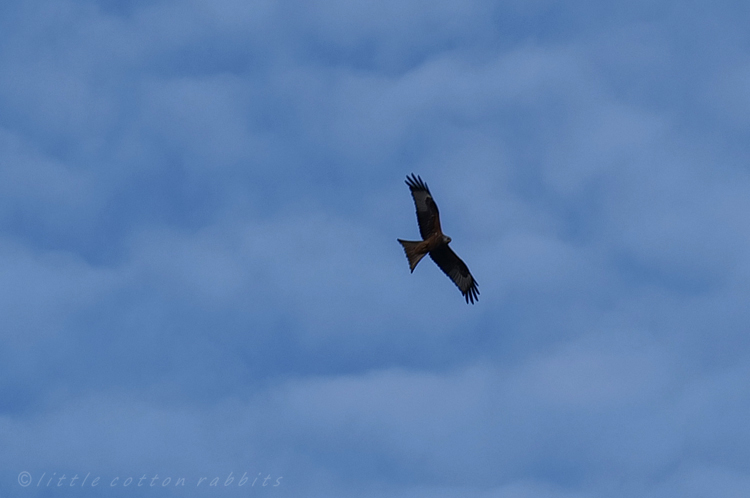
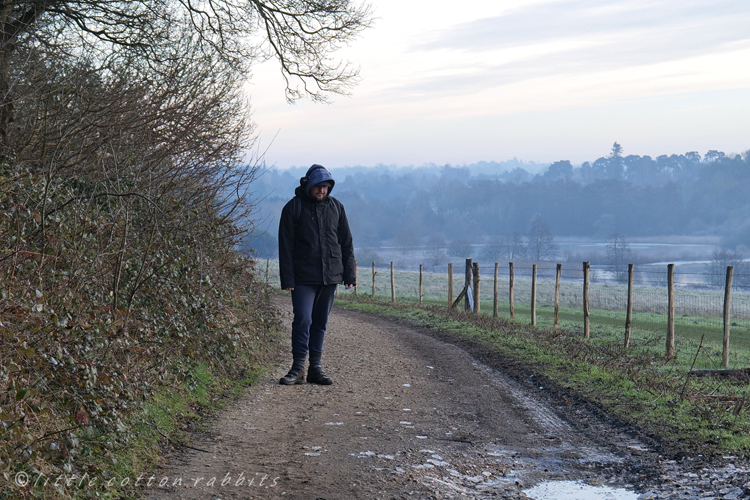
Outside Toby and I have had some lovely winter walks, whatever the weather, some days have been cold and mistily atmospheric and others have been bright, beautiful and sparkly with frost. At this time of year I walk with a bag full of sunflower seeds in my coat pocket and leave small offerings to the birds on tree stumps, fence posts and the corners of the benches where we sit for our snacks. Occasionally I’m rewarded by the sight of a bird coming down to feed just after we have moved on, most times it will be a robin as they are the very bravest of all small birds.
I do hope that the new year has started well for you, and there is much for you to look forward to as the year unfurls, J x
Some favourite things about January:
- Sunrise, which in January is between 7-8am, and so is not over by the time I wake
- Wandering out into the garden at dawn in my jammies (with a big jumper and cosy scarf over the top) and sipping at my morning cup of tea while watching the sun come up. Sometimes I am also delighted by a surprise sighting of a green woodpecker on the plum tree or once by the passing of a flock of lapwings overhead, so distinctive in flight with their rounded wingtips, perhaps 50 or 60 of them flying towards the sun rising in the east, it took my breath away.
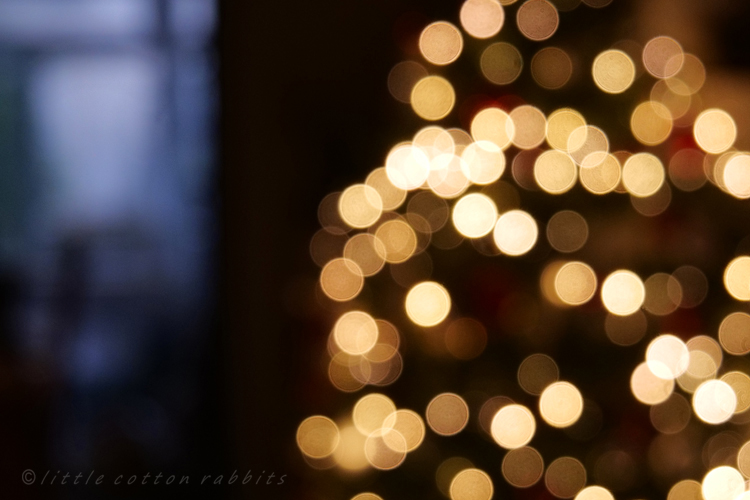
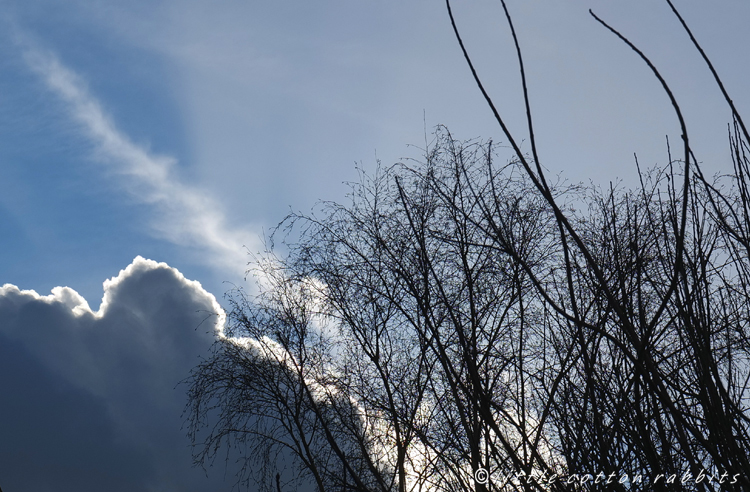
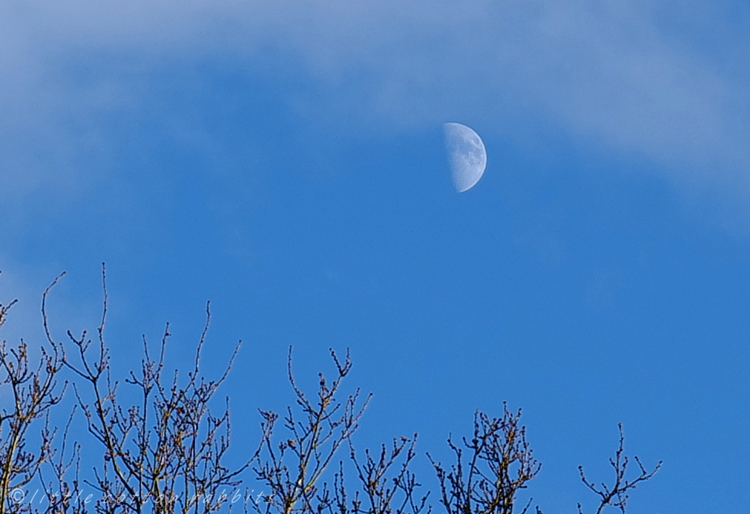
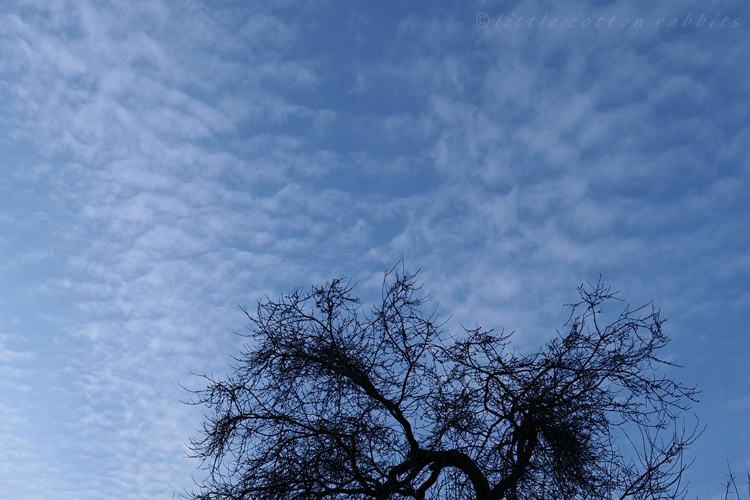
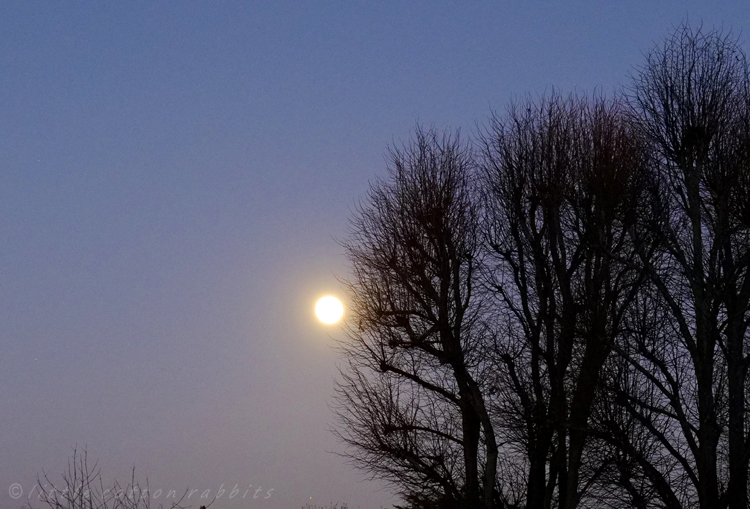
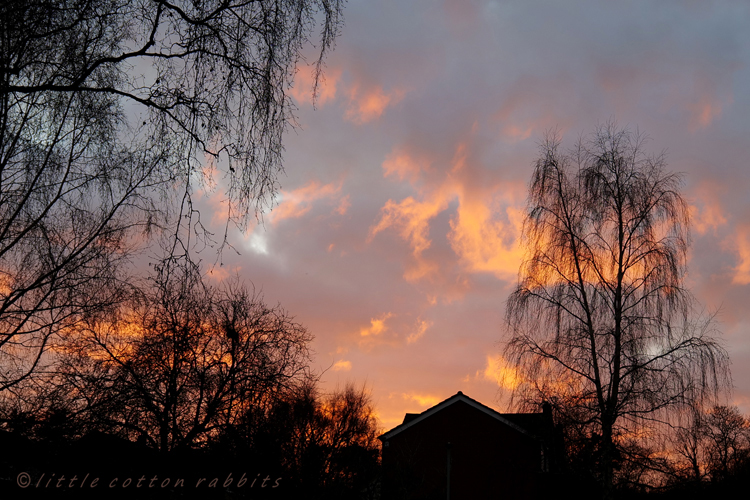
- January skies are some of the most beautiful, graced by the paper moon or by wonderful cloud formations backlit and edged with silver or gold by the light of the low winter sun
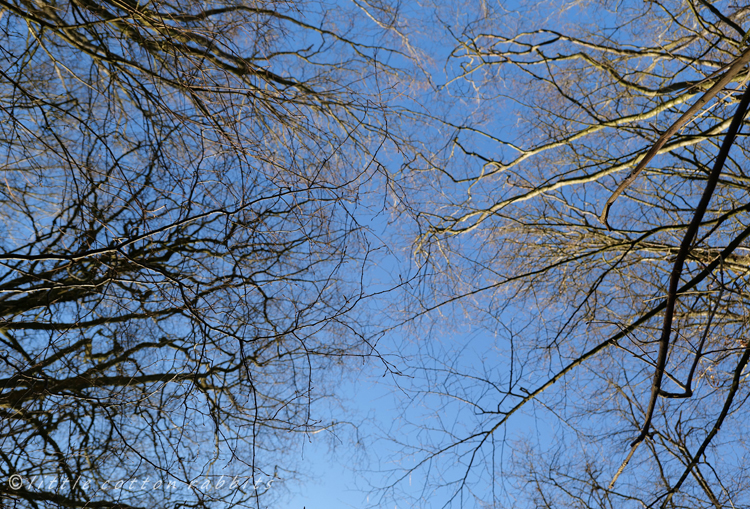
- Even though it is still definitely winter, the first tentative signs of seasonal change are emerging; the first catkins are out on the Alder and Hazel trees, and in many other trees the silhouettes of their twigs against the leaden skies now show small raised bumps which are the beginnings of leaf buds. A hopeful sight indeed.